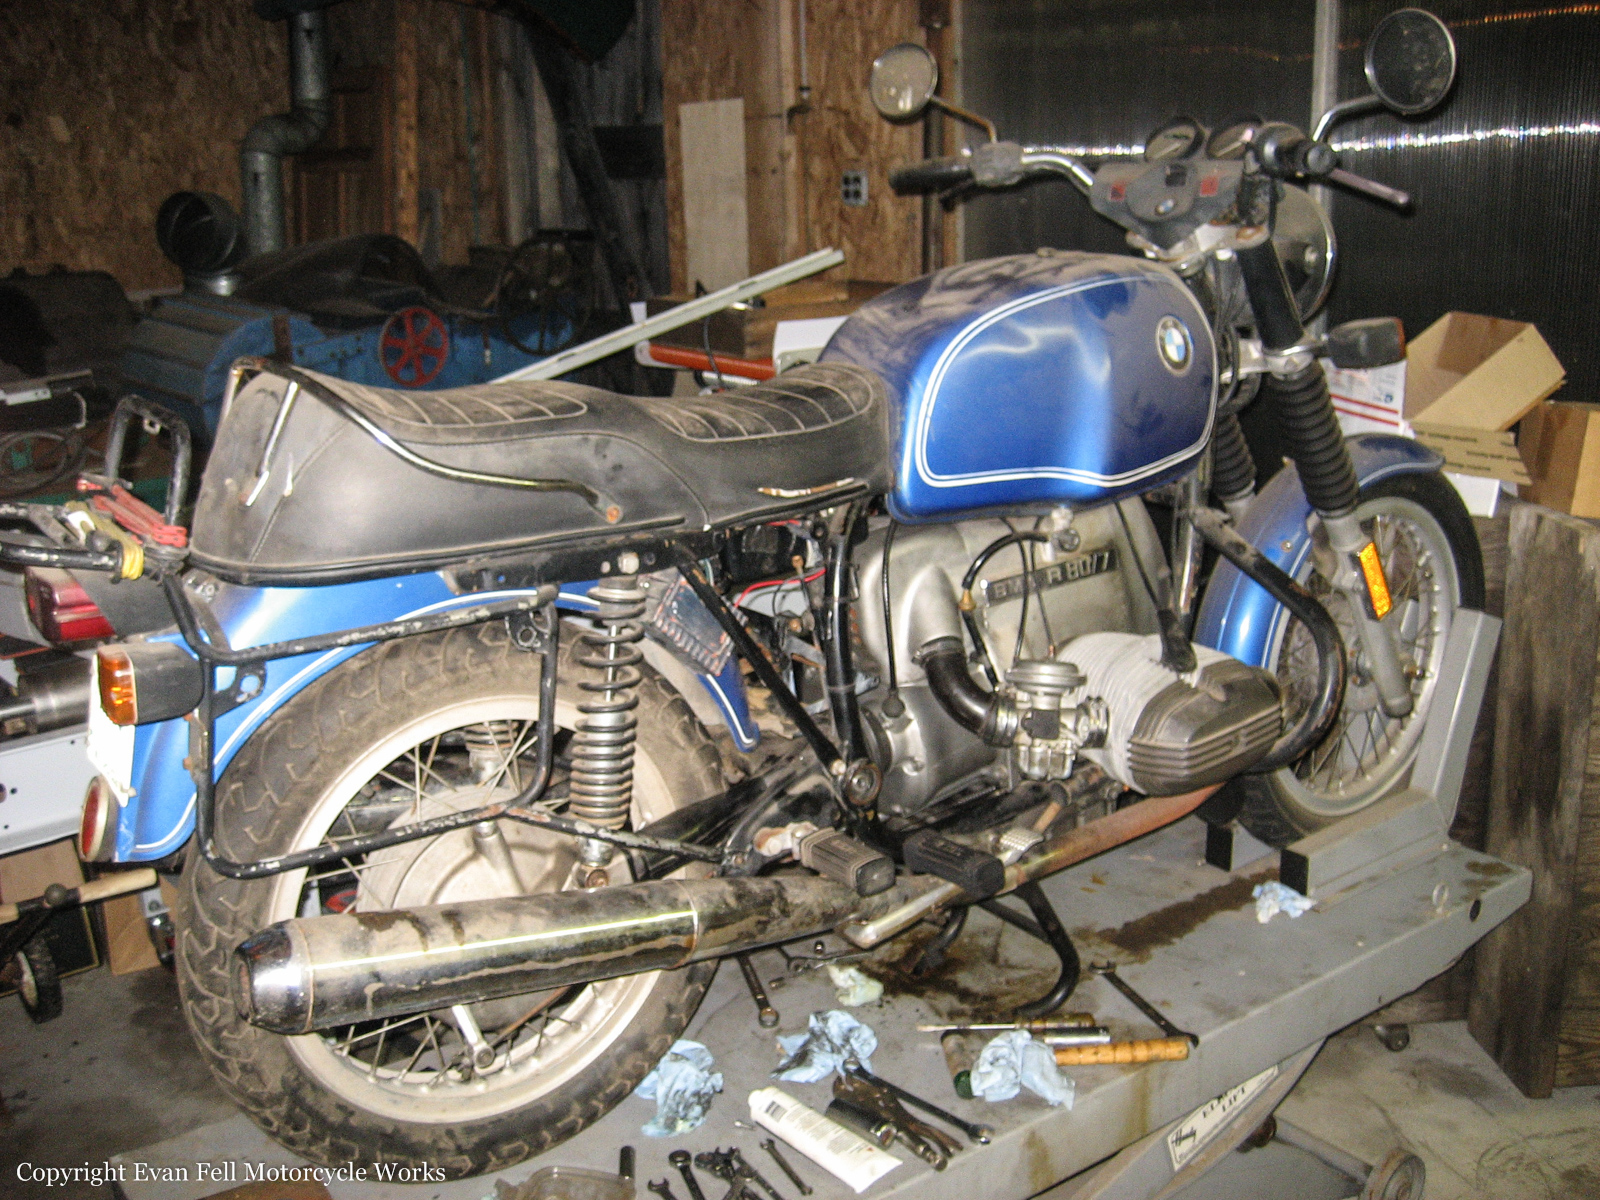
Seven years ago I dragged this 1978 BMW R80 out of a basement in Massachusetts. I immediately found out it had badly rusted cylinders and the pistons were frozen. I didn’t document what happened next, but the top end got completely rebuilt. The cylinders were sent out to be serviced and to accept R90 pistons, upping the compression to 10.5, and the displacement to 900cc. The motor purred like a kitten and ran beautifully. However, about 50 miles later the transmission failed and the bike had to be towed home. Since then the bike has been sitting on a lift with the transmission spread out on a bench.

The time had finally come to get this old girl back on the road. Let’s build a transmission!
This bike had collected a LOT of dust, but the overall condition is about what it was 7 years ago. A little bit of rust had accumulated on the flywheel, but that’s of little consequence.


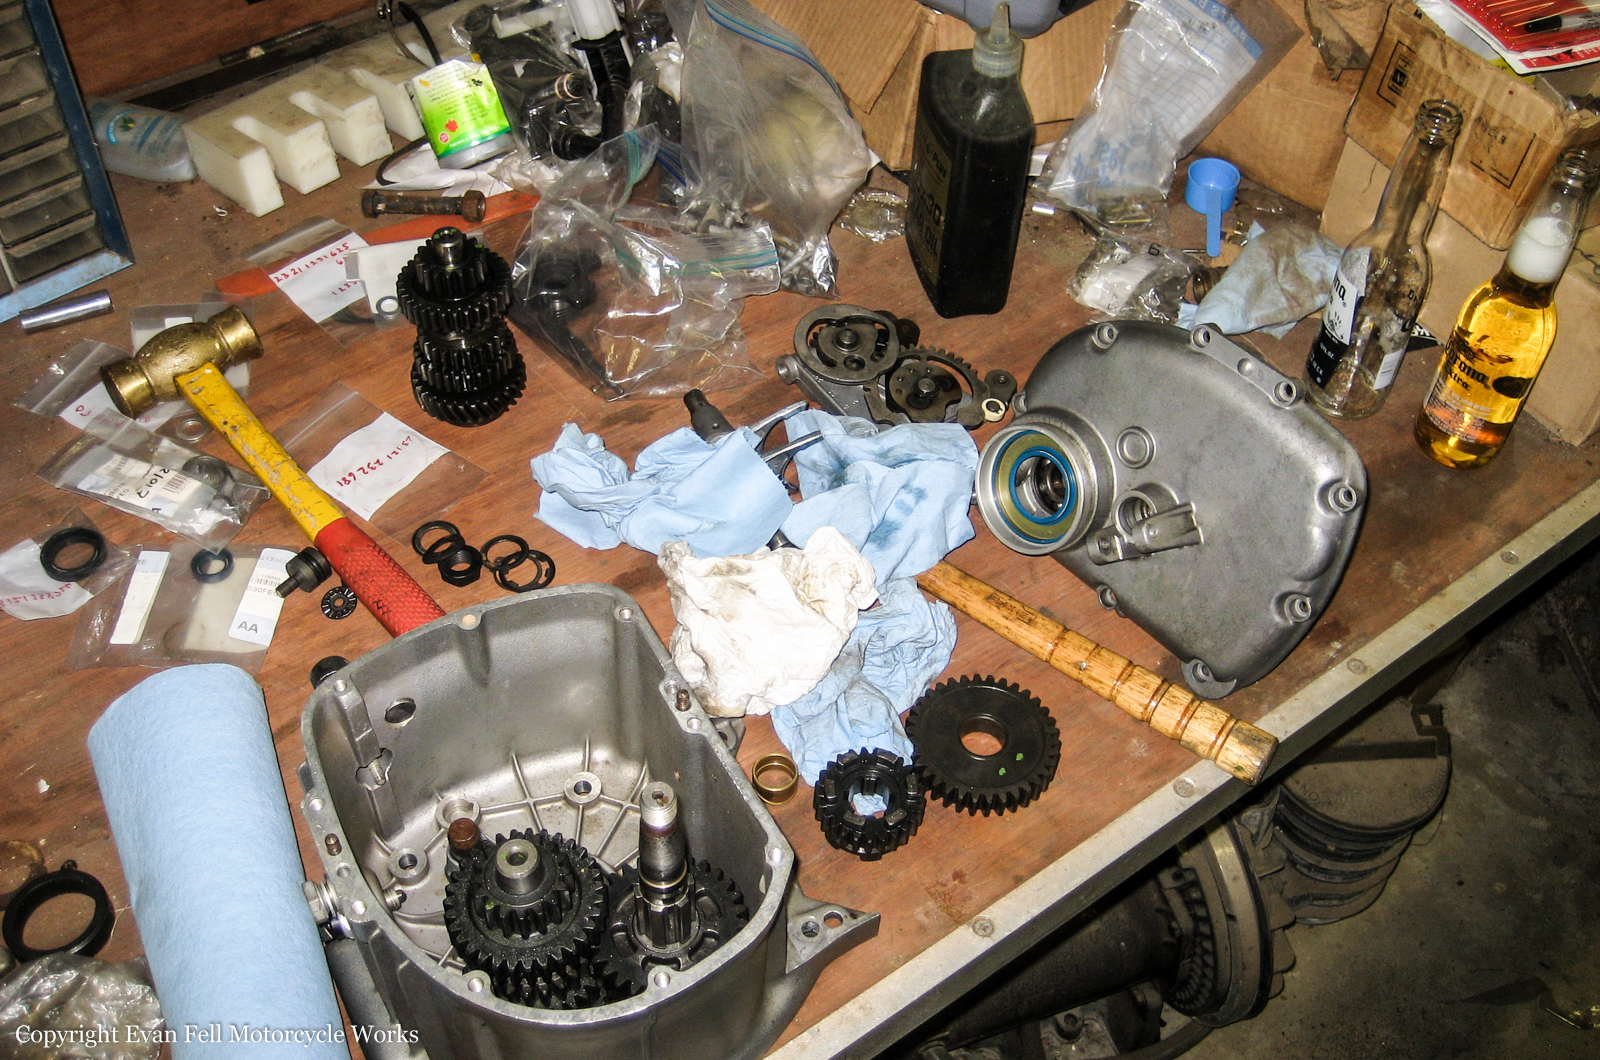
The transmission had already been opened up, and a handful of parts had been ordered.
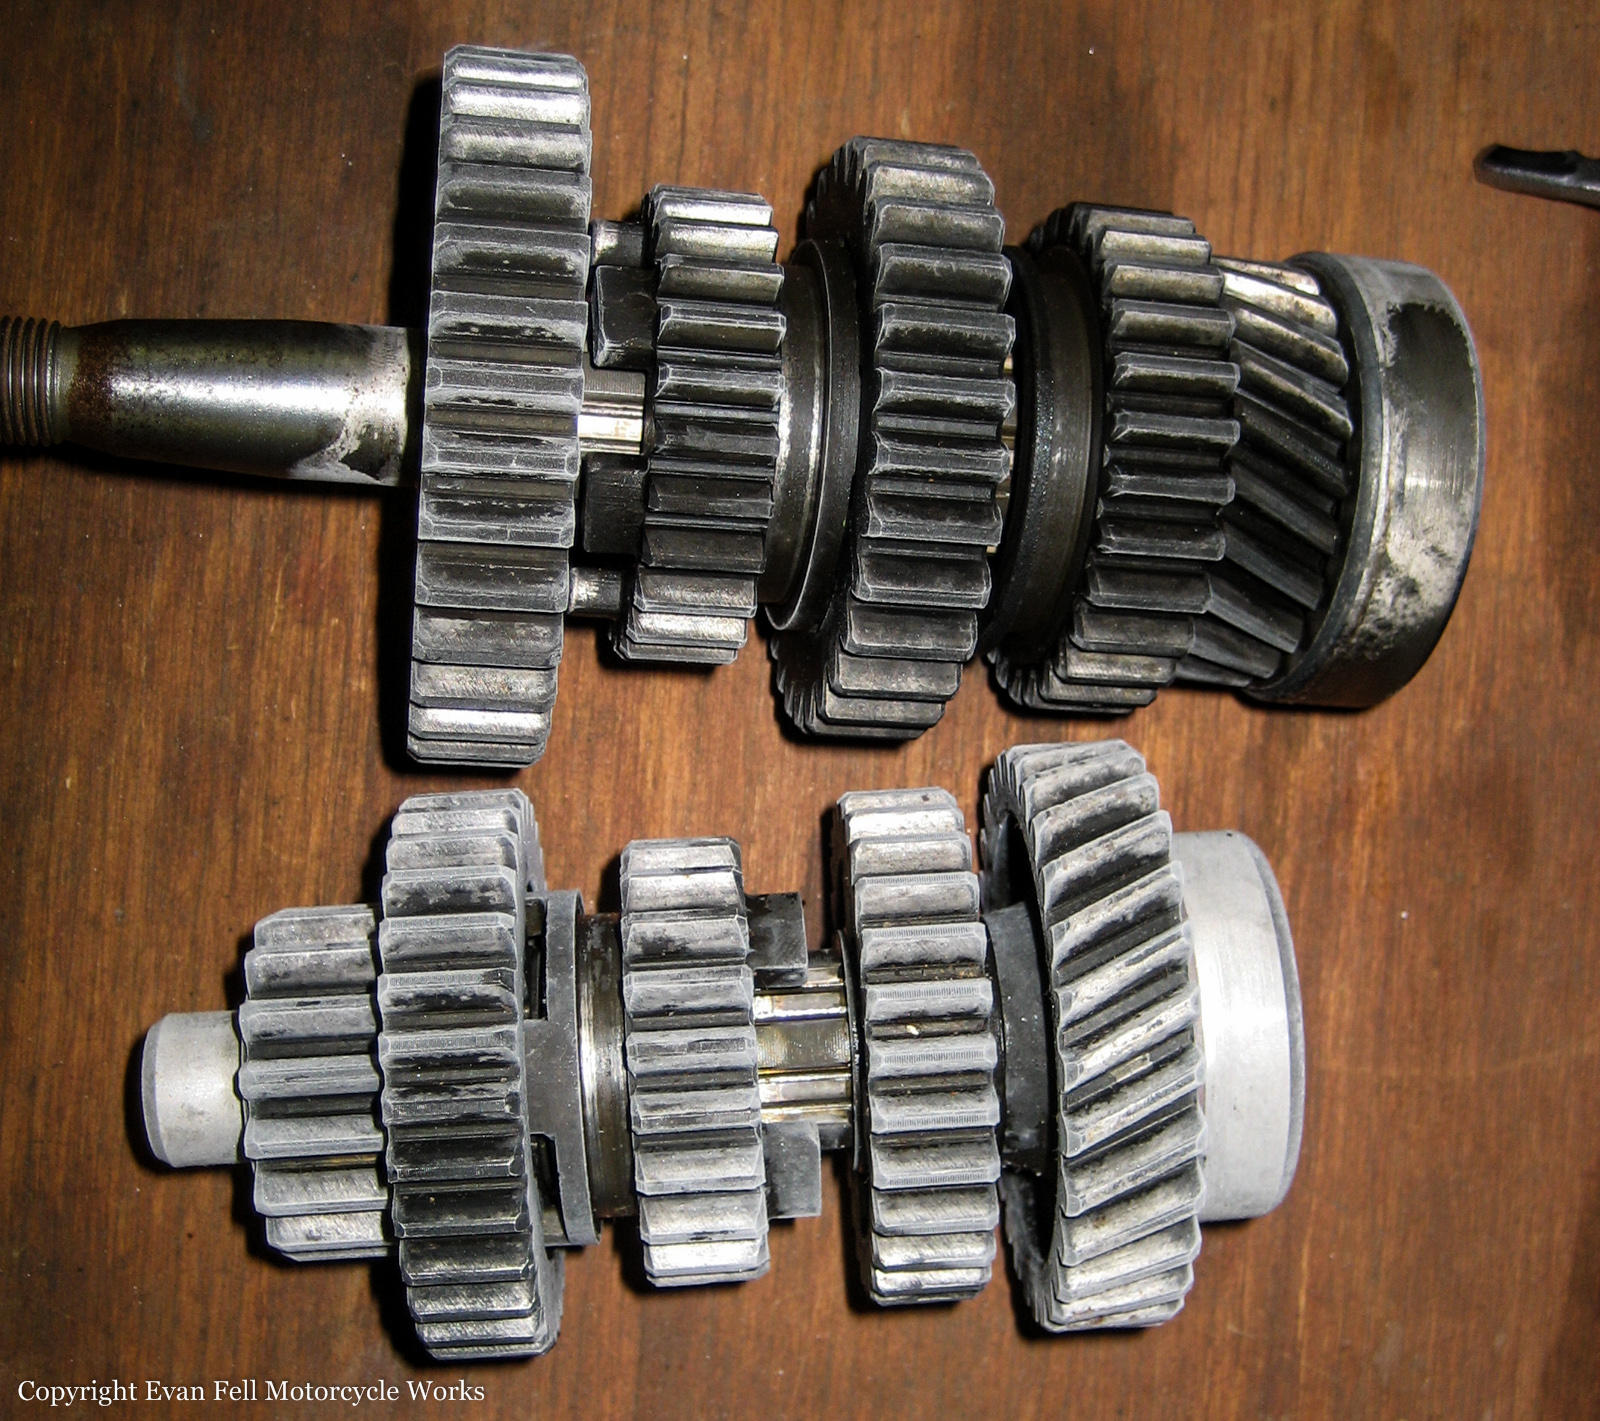
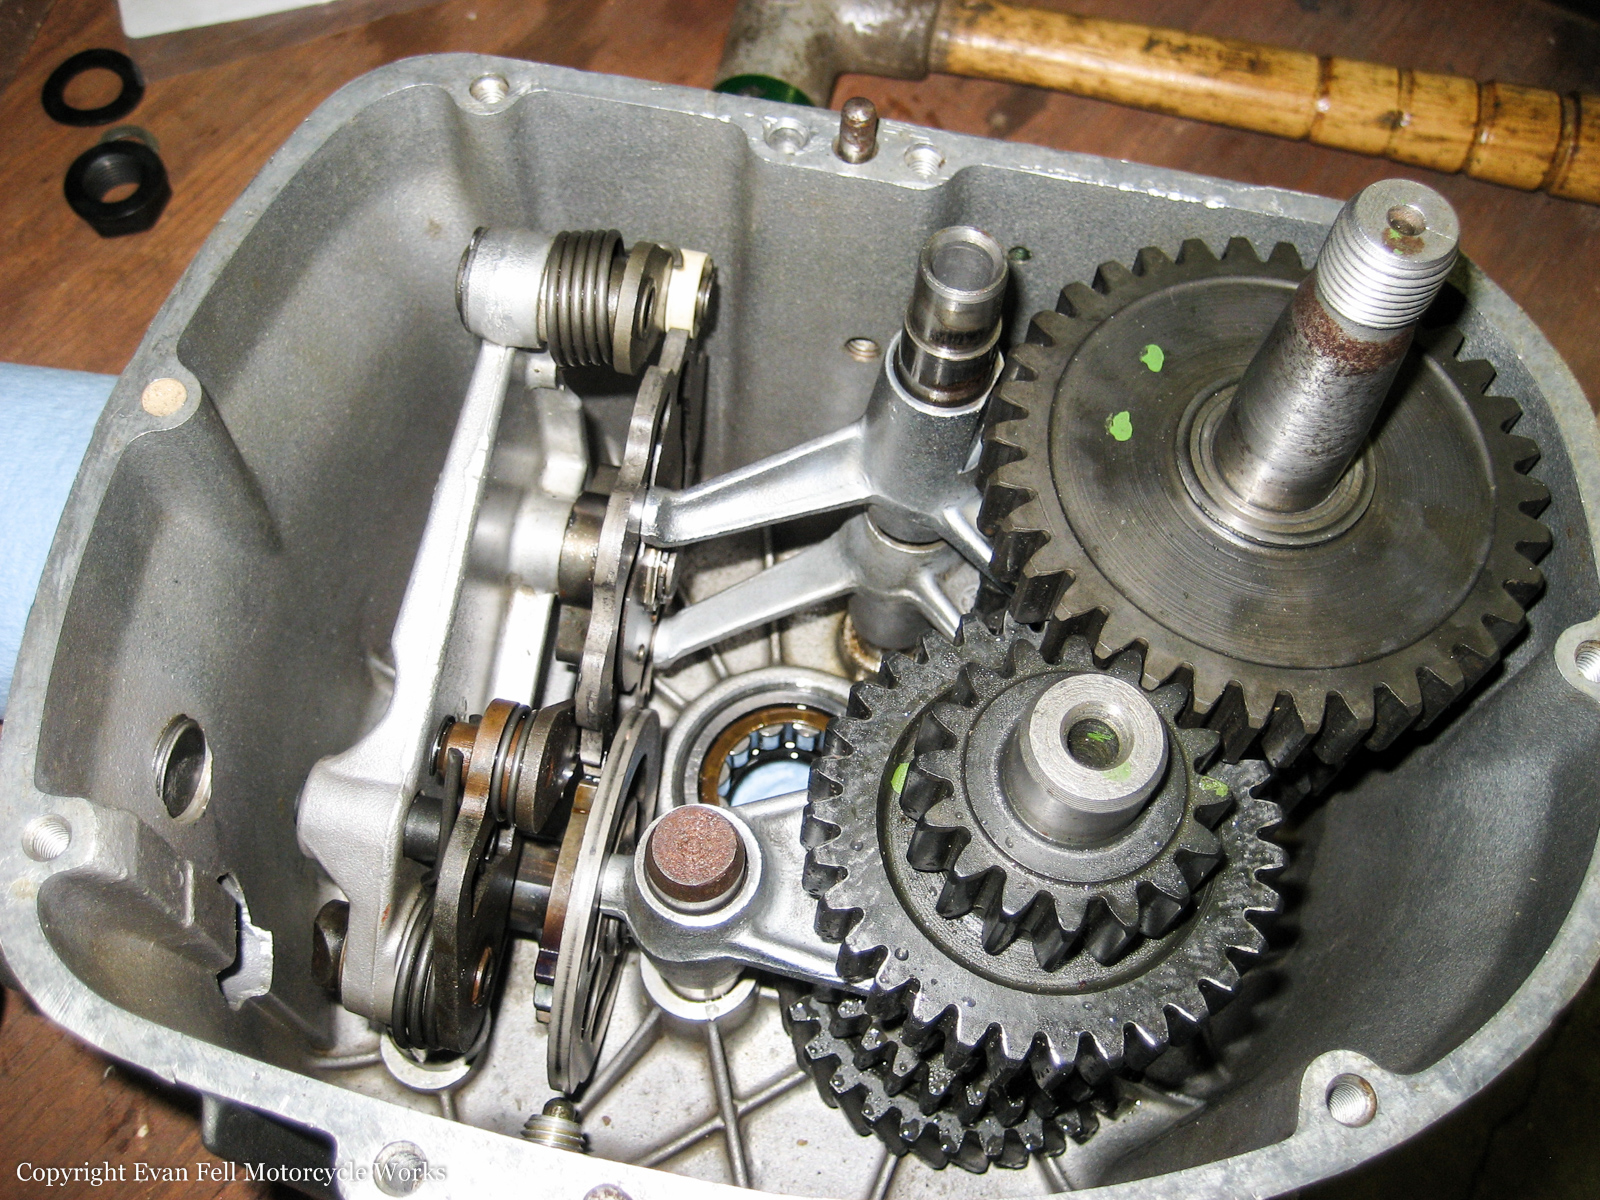
The failure point of this transmission was 3rd gear. Two of the four dogs that engage the third gear had broken off and lodged themselves in other parts of the tranny. If you look closely you’ll see where they snapped off.
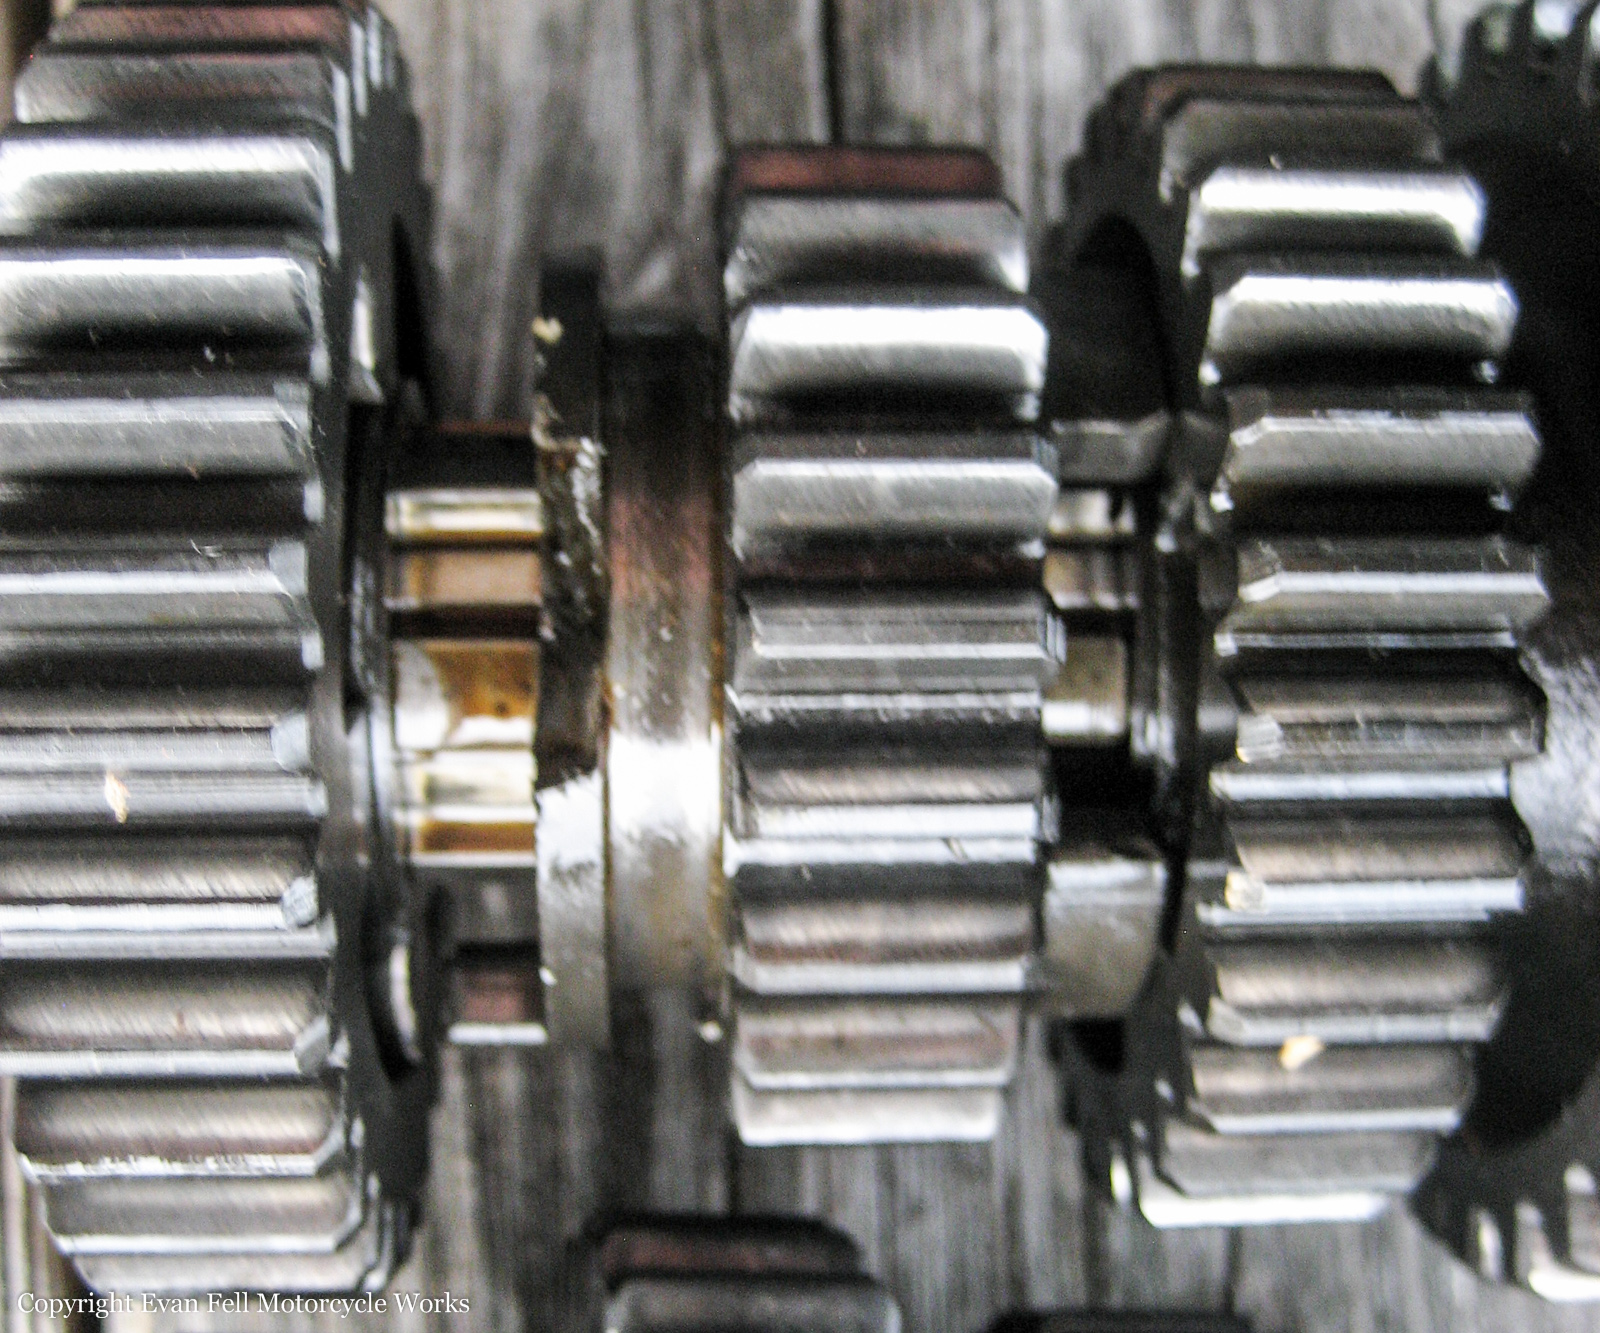
This is a somewhat common issue on the larger displacement airheads. It has always struck me as strange how these old Airhead bikes have a reputation for longevity, but they are incredibly prone to a variety of transmission failure issues. The newer 3rd gears have thicker mounting points for the dogs, so this particular issue has been somewhat resolved in later model transmissions.
By far the most common failure point in these transmissions is wear on the output shaft and 5th gear, causing fifth gear to rub on the output shaft bearing and crack it’s case. Unfortunately this transmission is also on the verge of suffering from this issue as well. Fifth gear has quite a lot of play on the shaft, although it isn’t quite at the point where it’s touching the bearing.
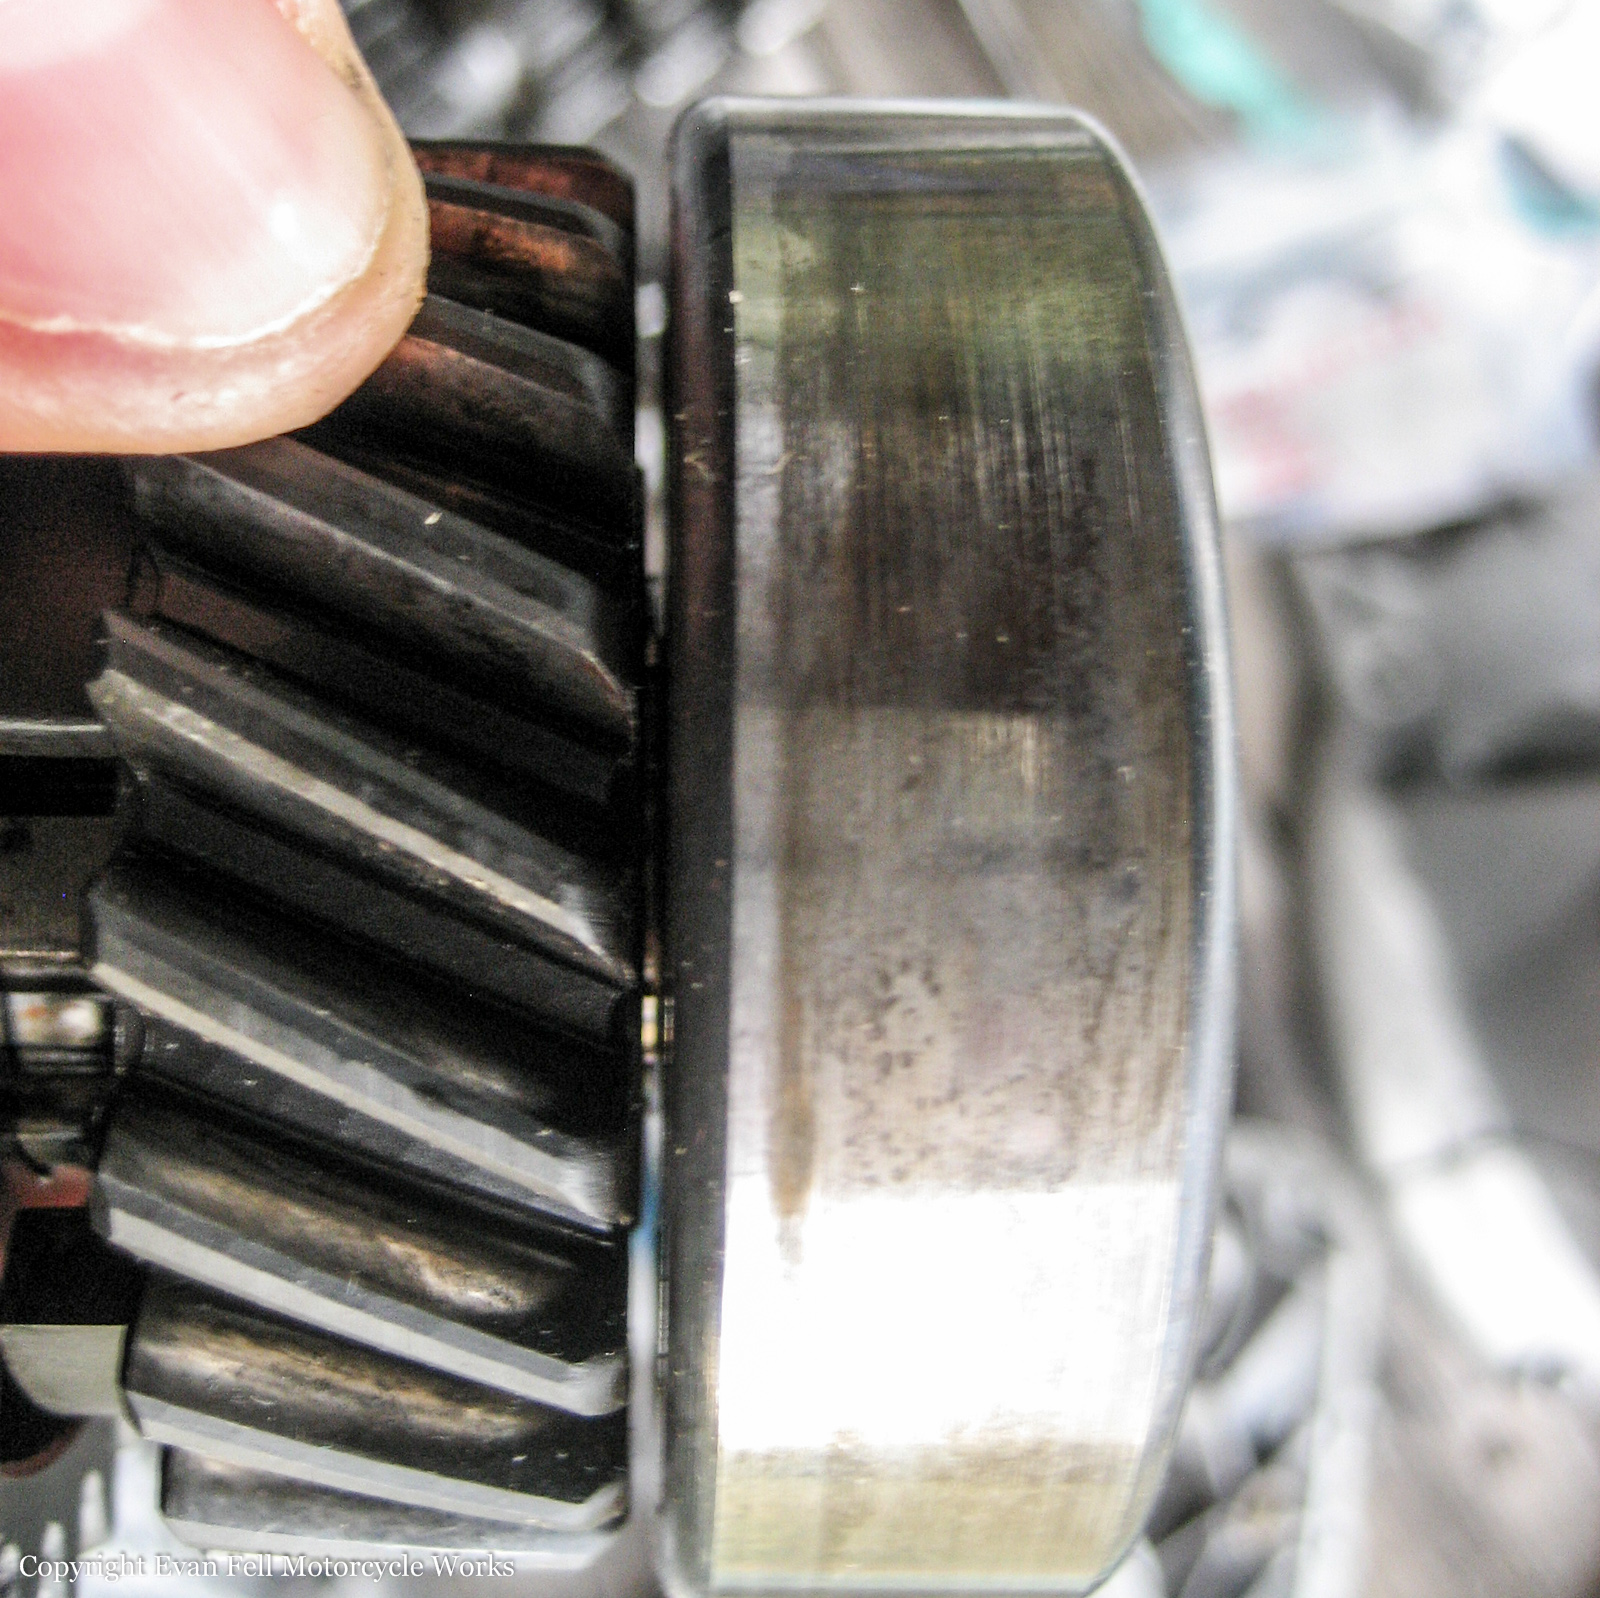
Many of the gear faces also have wear, but there’s not a lot that can be done about it.
For this rebuild I did not replace the output shaft or fifth gear, despite their condition. Look-up the cost of those parts and you’ll understand why. A new output shaft costs more than I originally paid for the entire bike! My plan on this transmission rebuild is to simply get the bike back on the road so it can be used to cruise around town a little bit. I’ll wait for a low mile transmission to come up for sale and buy it complete to swap out.
The parts for the job have been assembled:
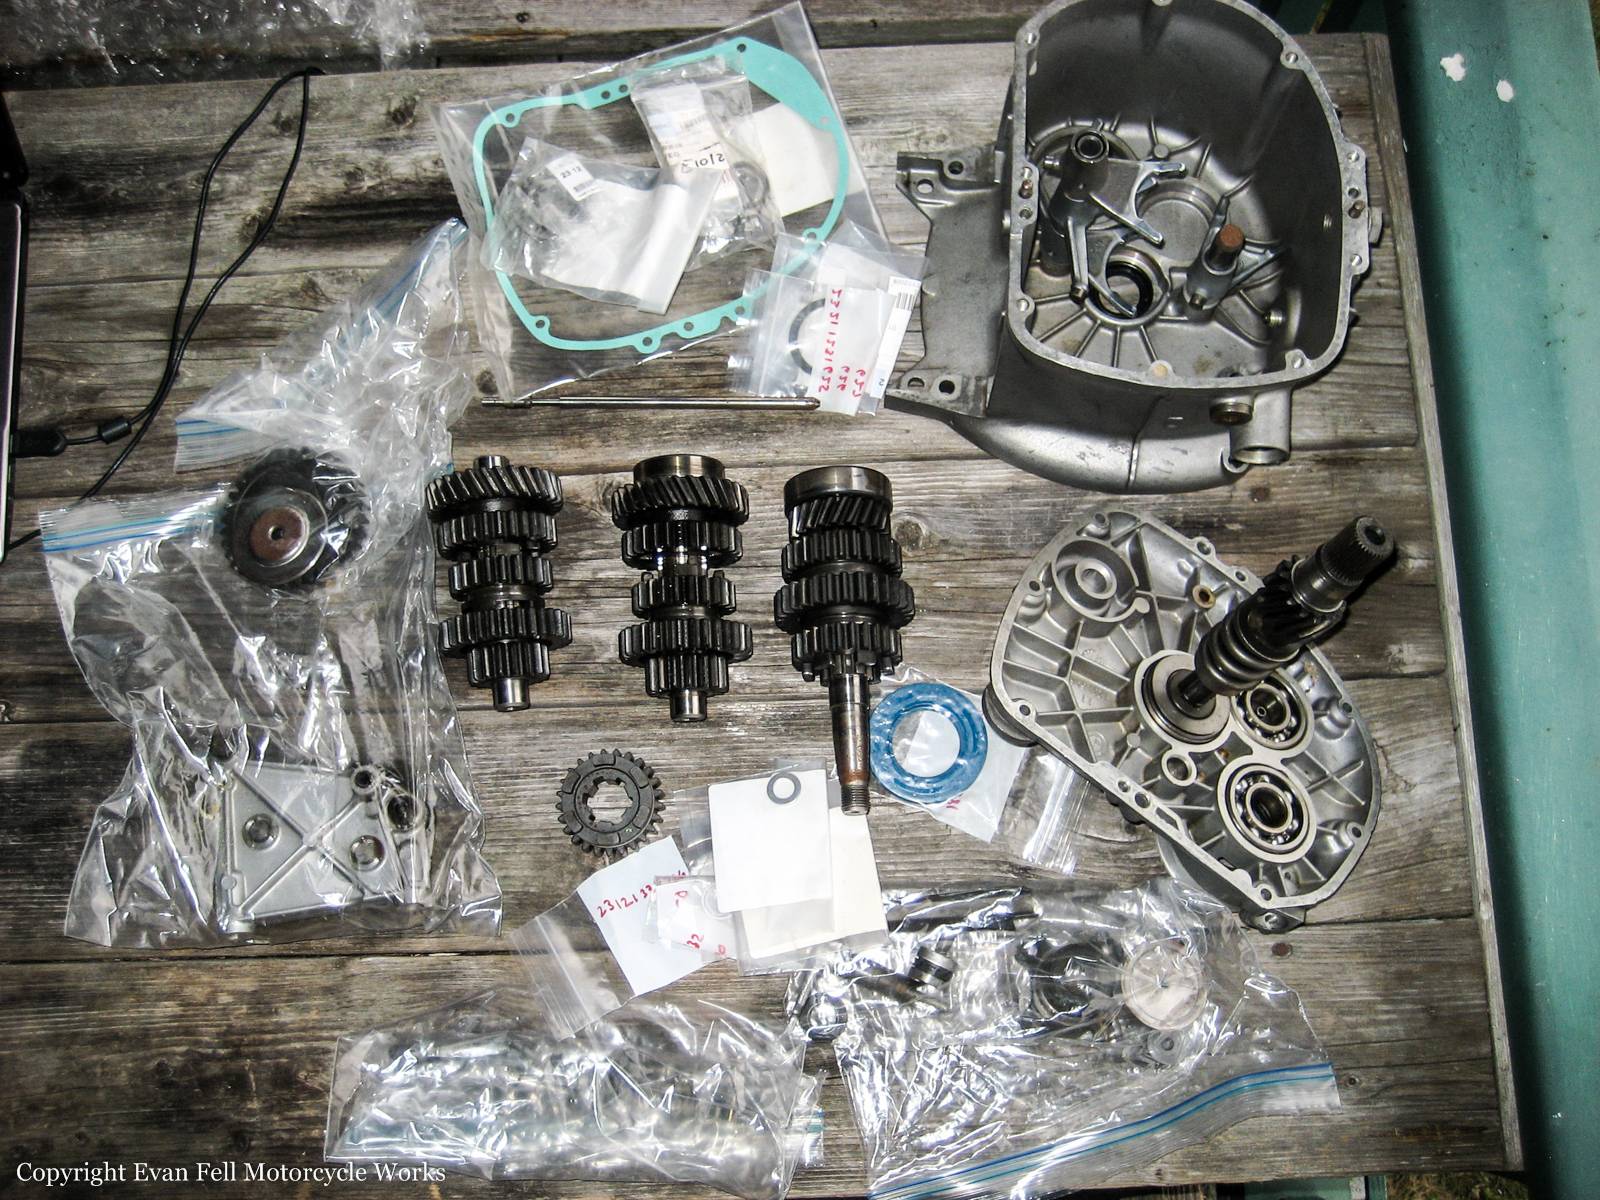
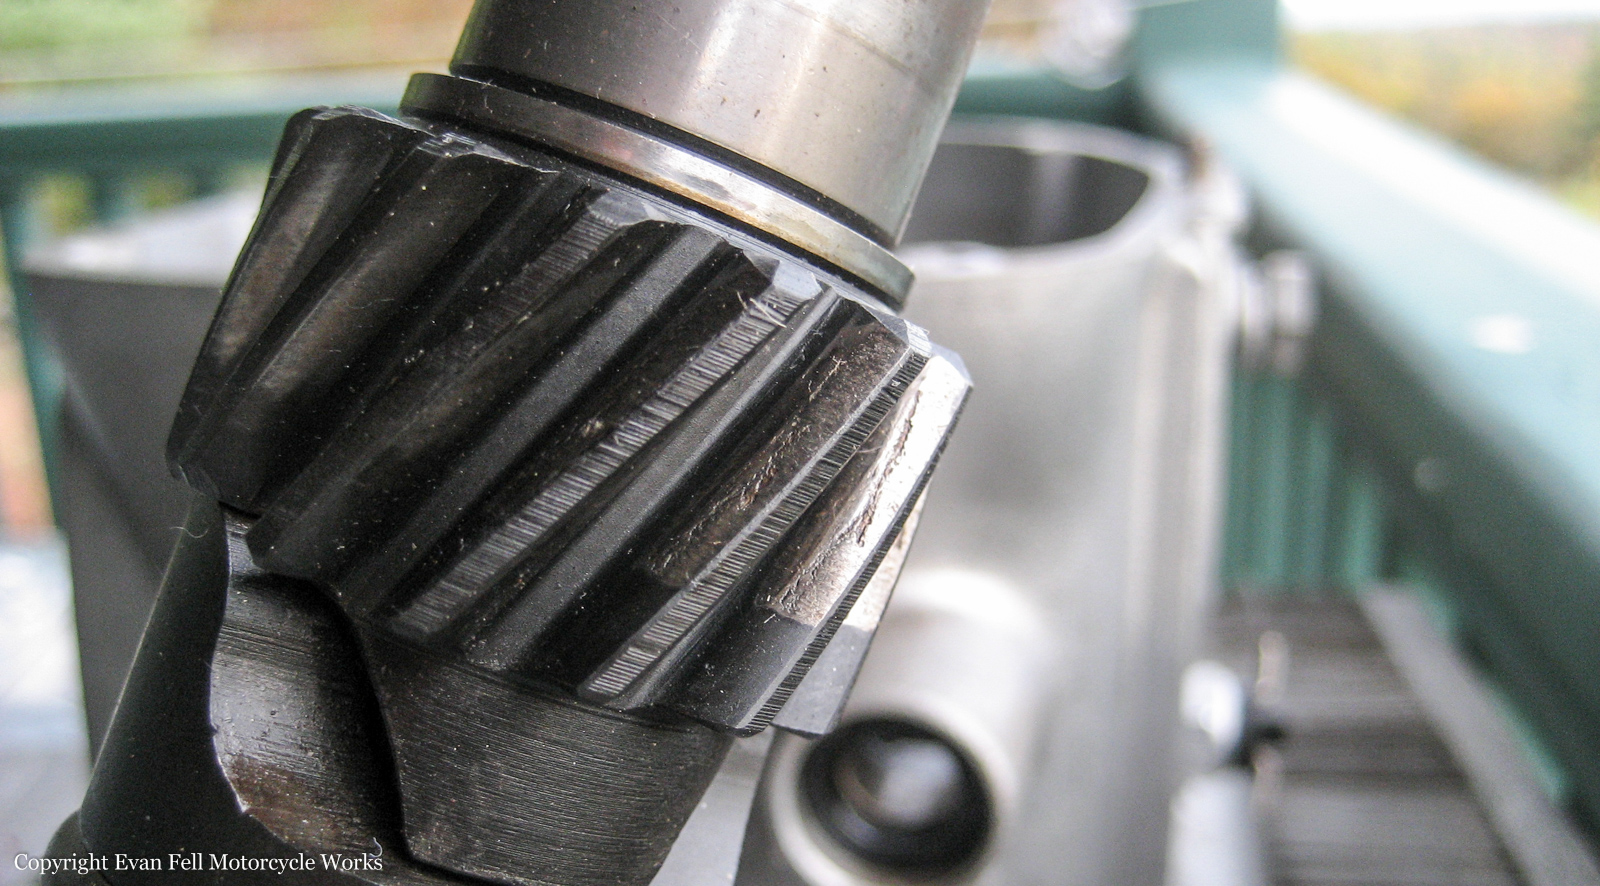
The transmission cases have been cleaned out. We have some new bearings, seals, and gaskets, and of course a used transmission shaft with a good condition 3rd gear to swap out.
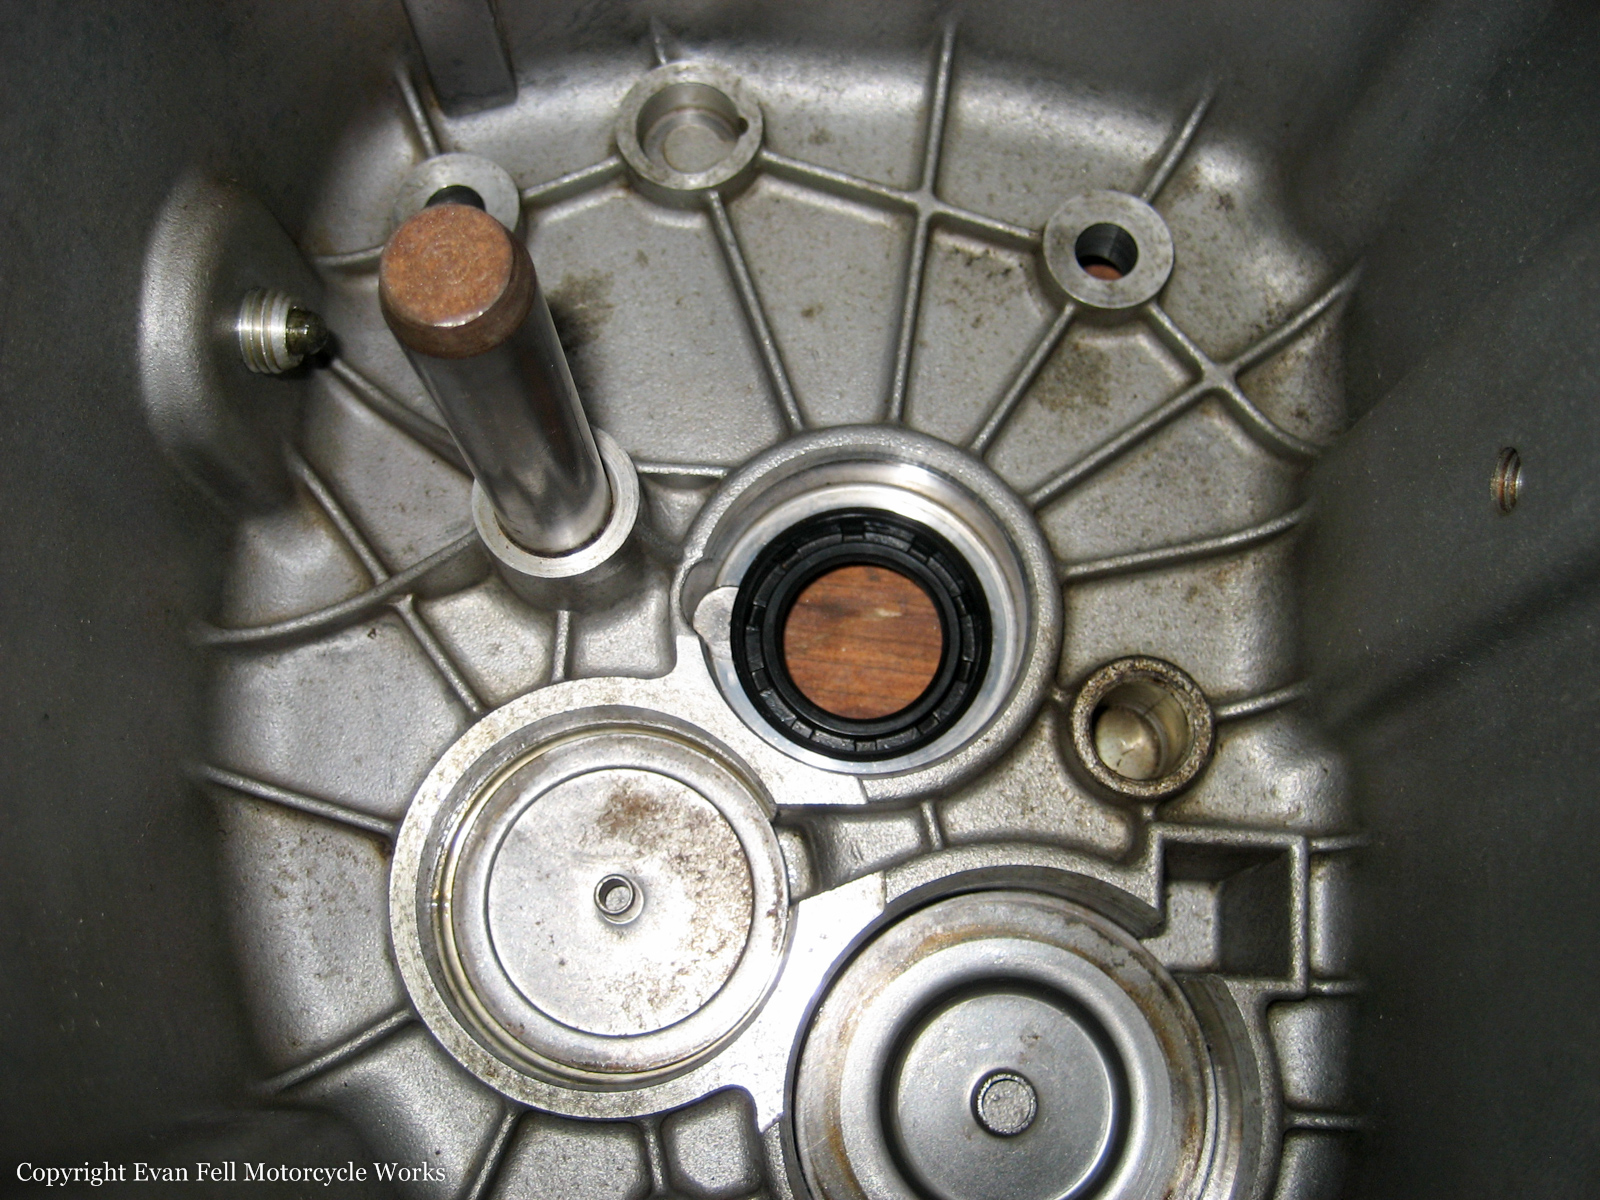
Here’s the empty gear case:
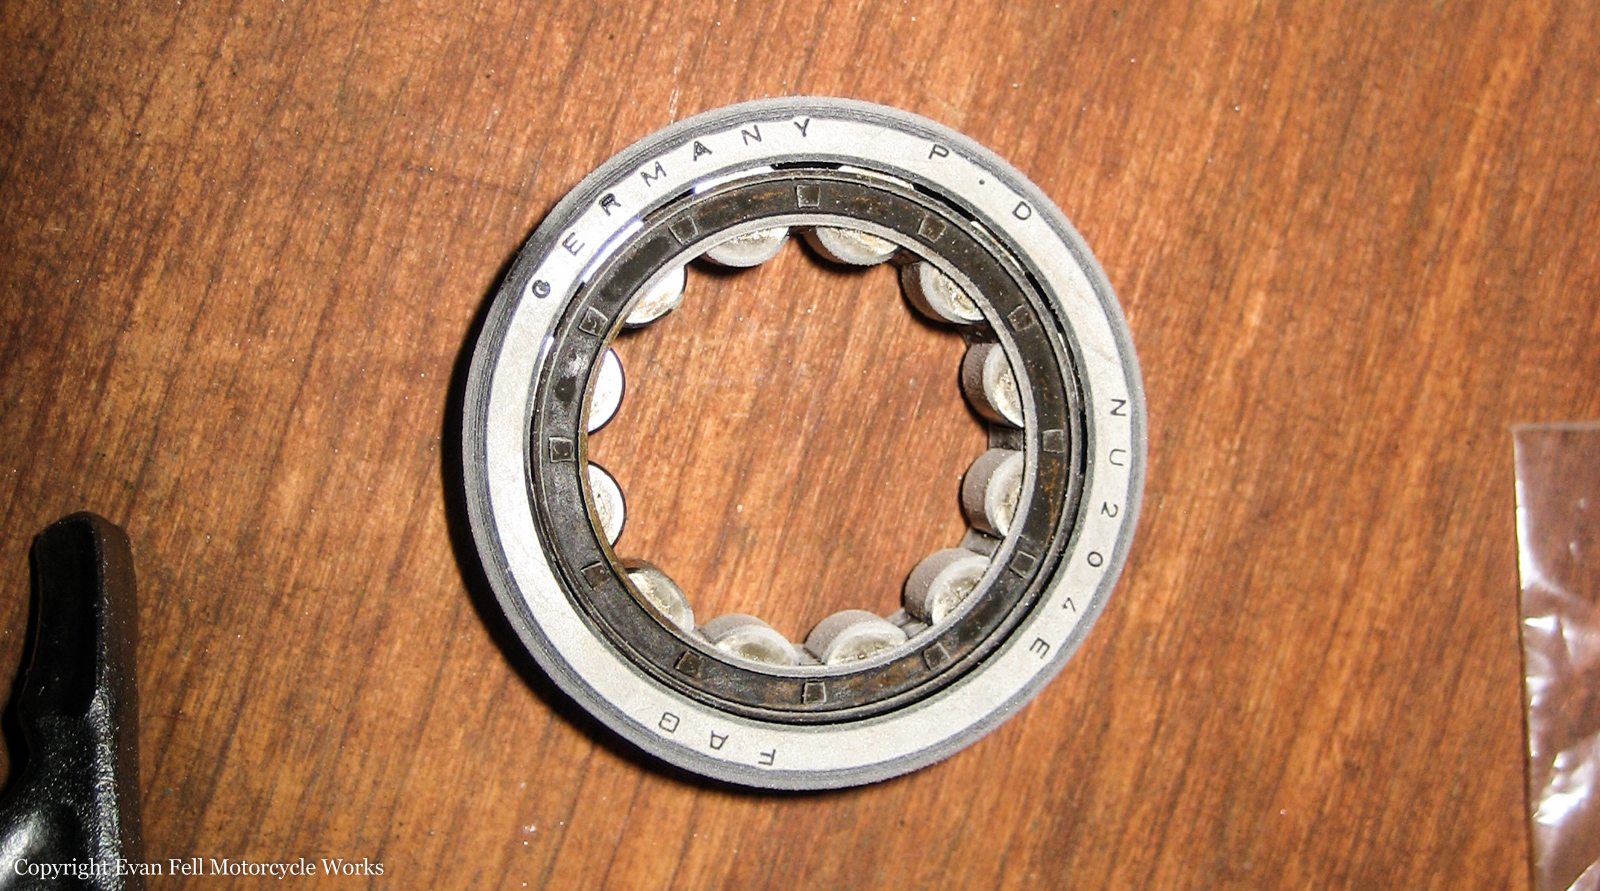
I pressed new bearings onto the gear shafts, then stuck them in the freezer to shrink them down a little – although the condensation certainly wasn’t helping the clearances.
And I pressed the shafts down into the case.
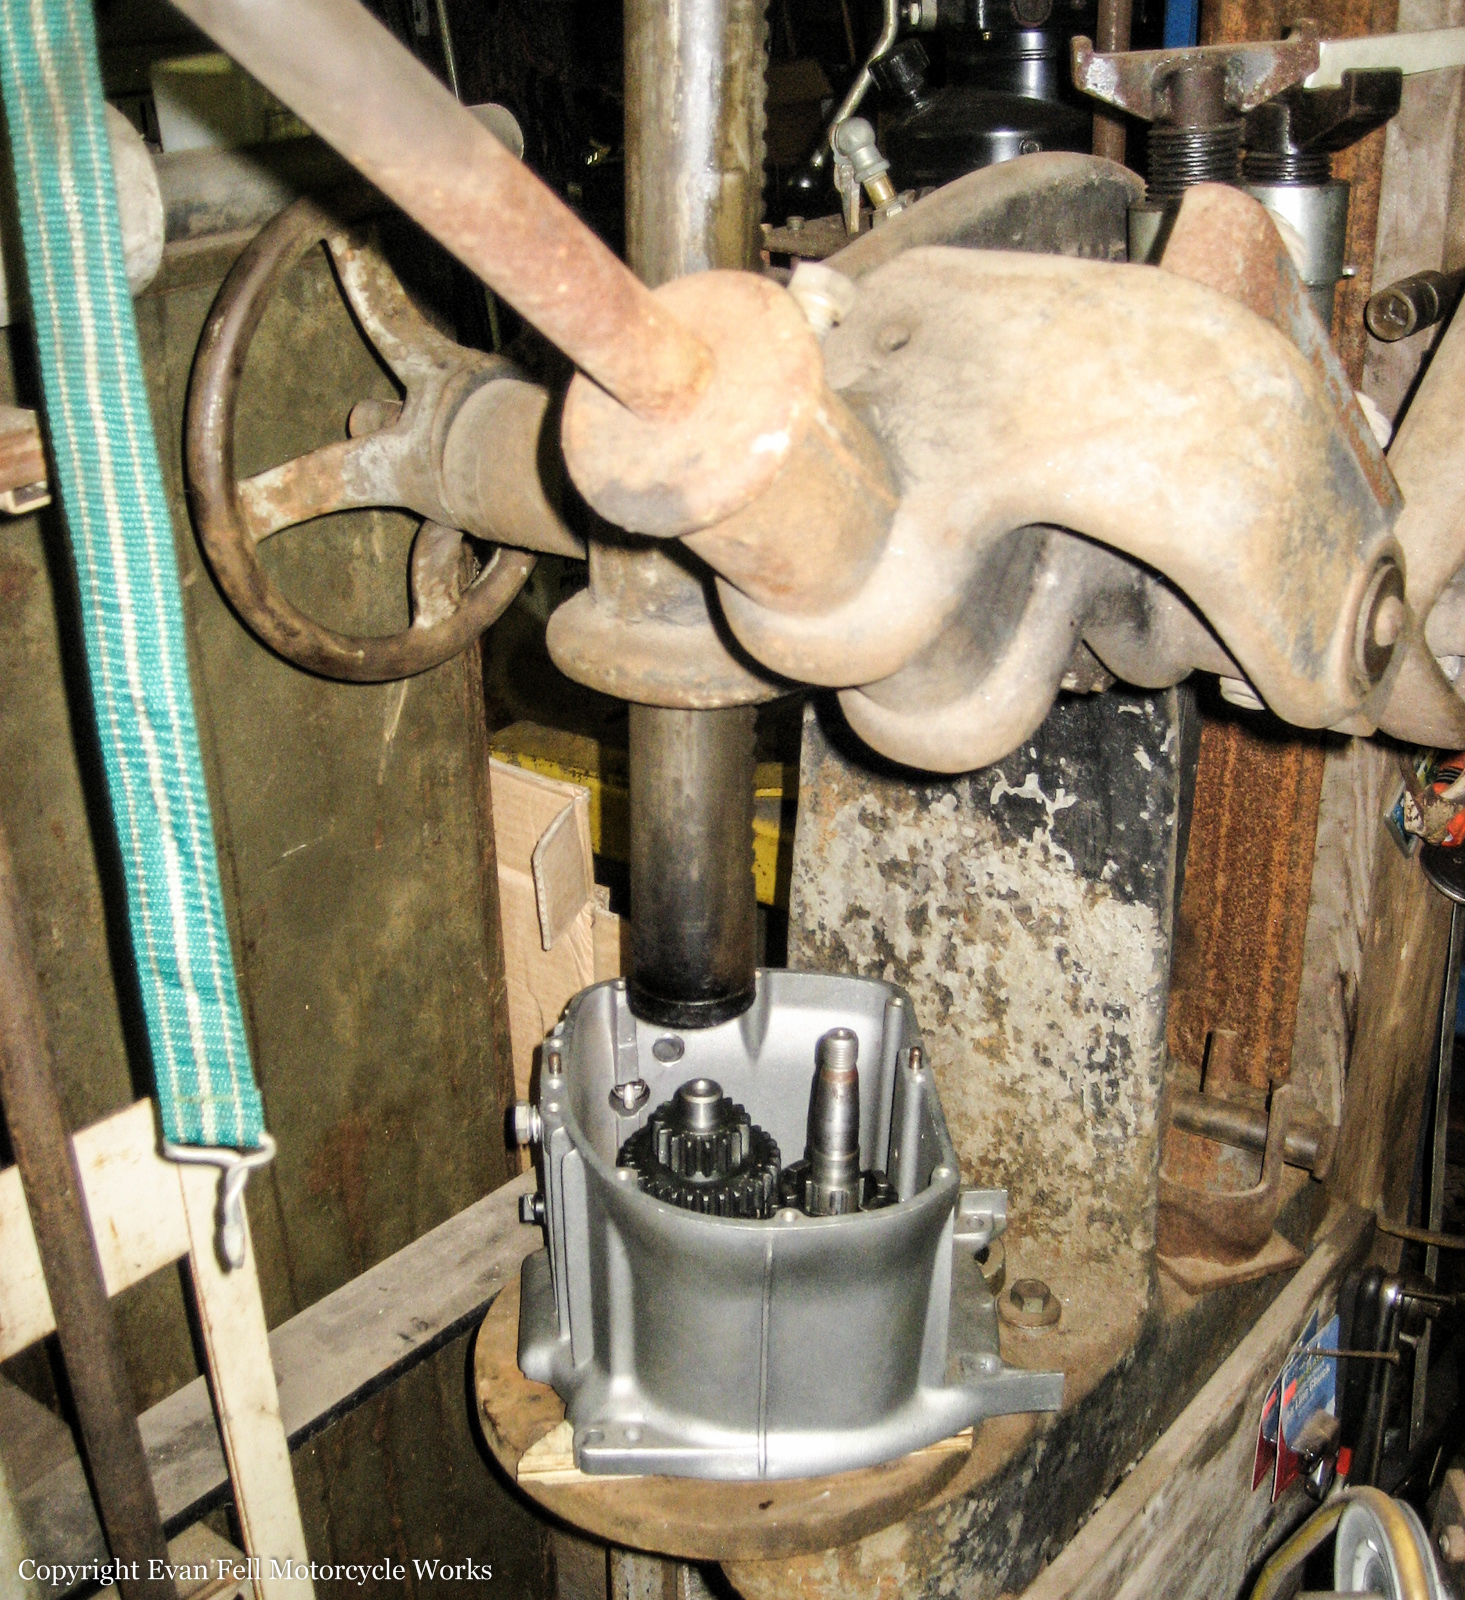
The bearings didn’t go down in quite as easily as I had hoped, but I managed it without too much fuss. I had to press each shaft a little bit at a time and alternate back and forth until they were both completely seated.
The workbench tends to get cluttered pretty quickly when working on projects like this. You can see below I now have the gear shafts seated into the case, and I also have the new output shaft seal mounted on the transmission cover. A couple Corona’s helps too!
Next is the shifting mechanism and shift forks. It’s a bit fiddly to get everything held in place just right when you drop it in place. I’m sure there’s a technique to do it, but I haven’t figured it out yet. Never-the-less, I got the shifting assembly in without much headache.
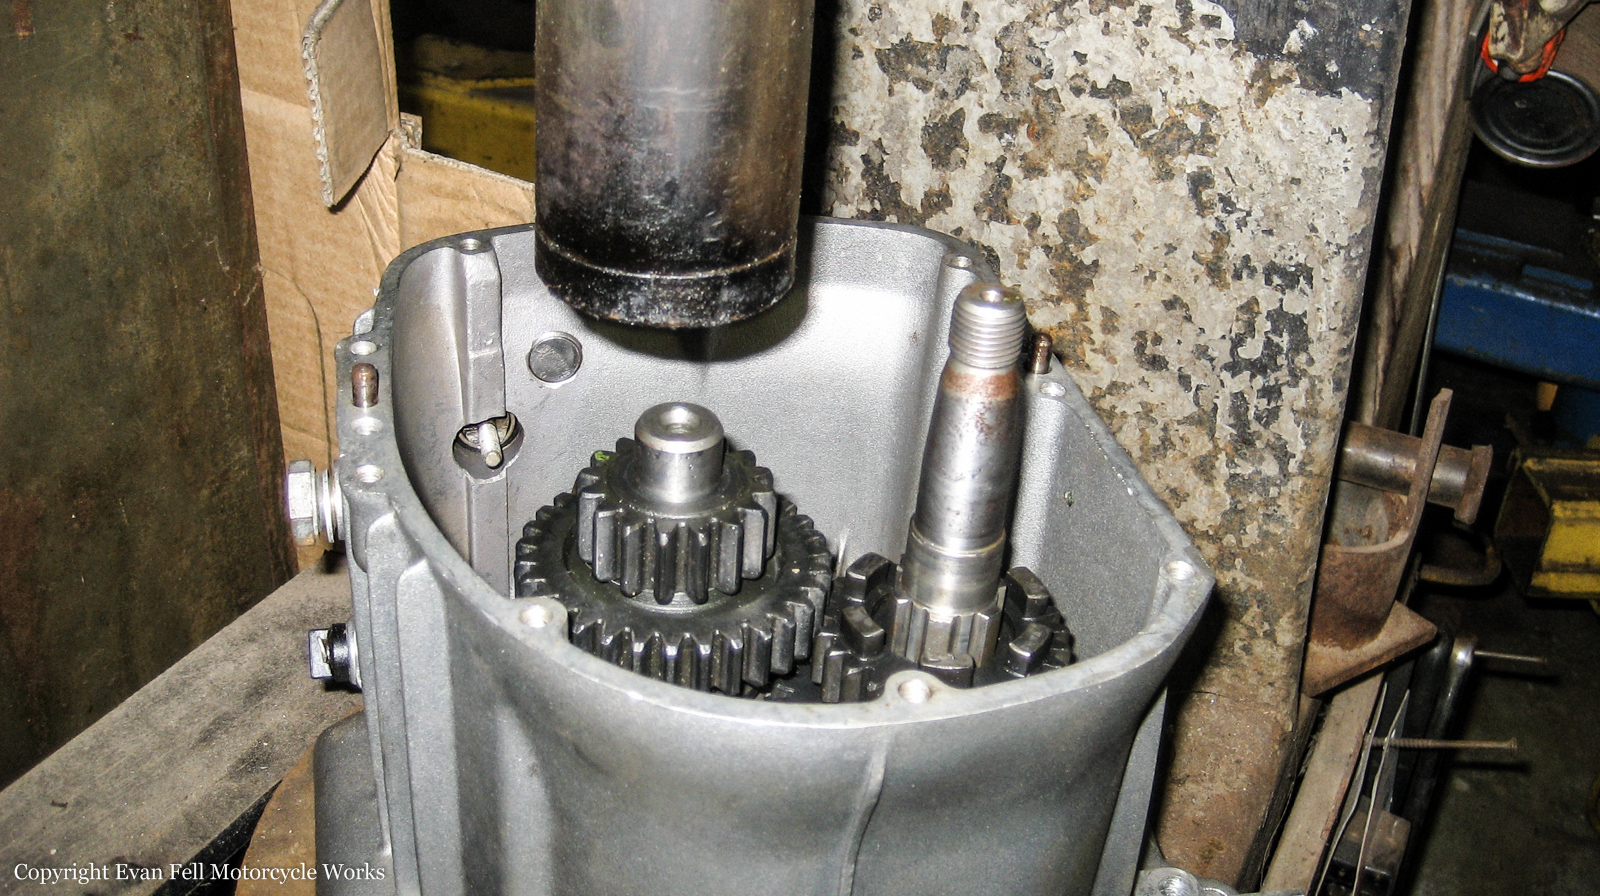
You can see in the center of the photo above that the input shaft bearing has also been pressed in place. I froze this one as well:
Once all the internals were in place I did a little double checking to make sure the shift shaft moved the gears correctly and nothing was binding. When I was sure I had everything right I put the transmission cover on with a fresh gasket:
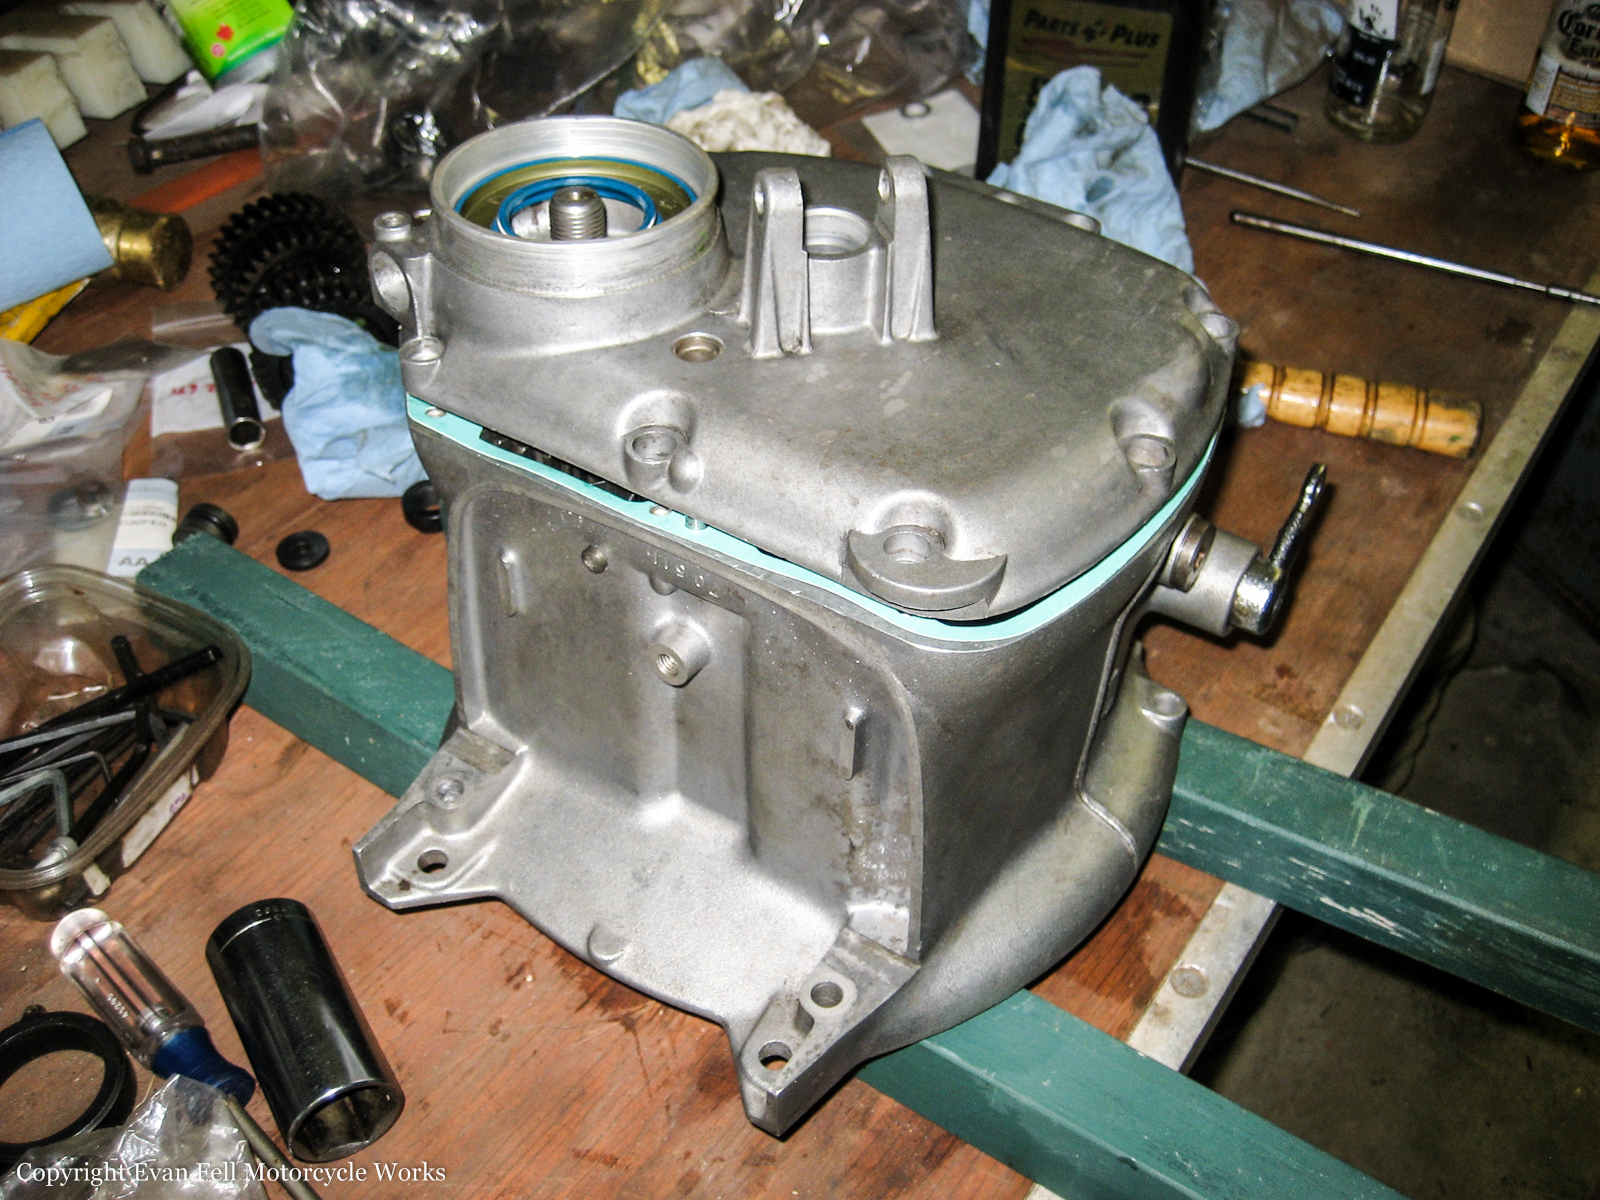
I tapped it down with a hammer and gently used the press in the center to seat the bearing all the way. It’s a simple but odd design. I then bolted the cover down and tightened everything up!
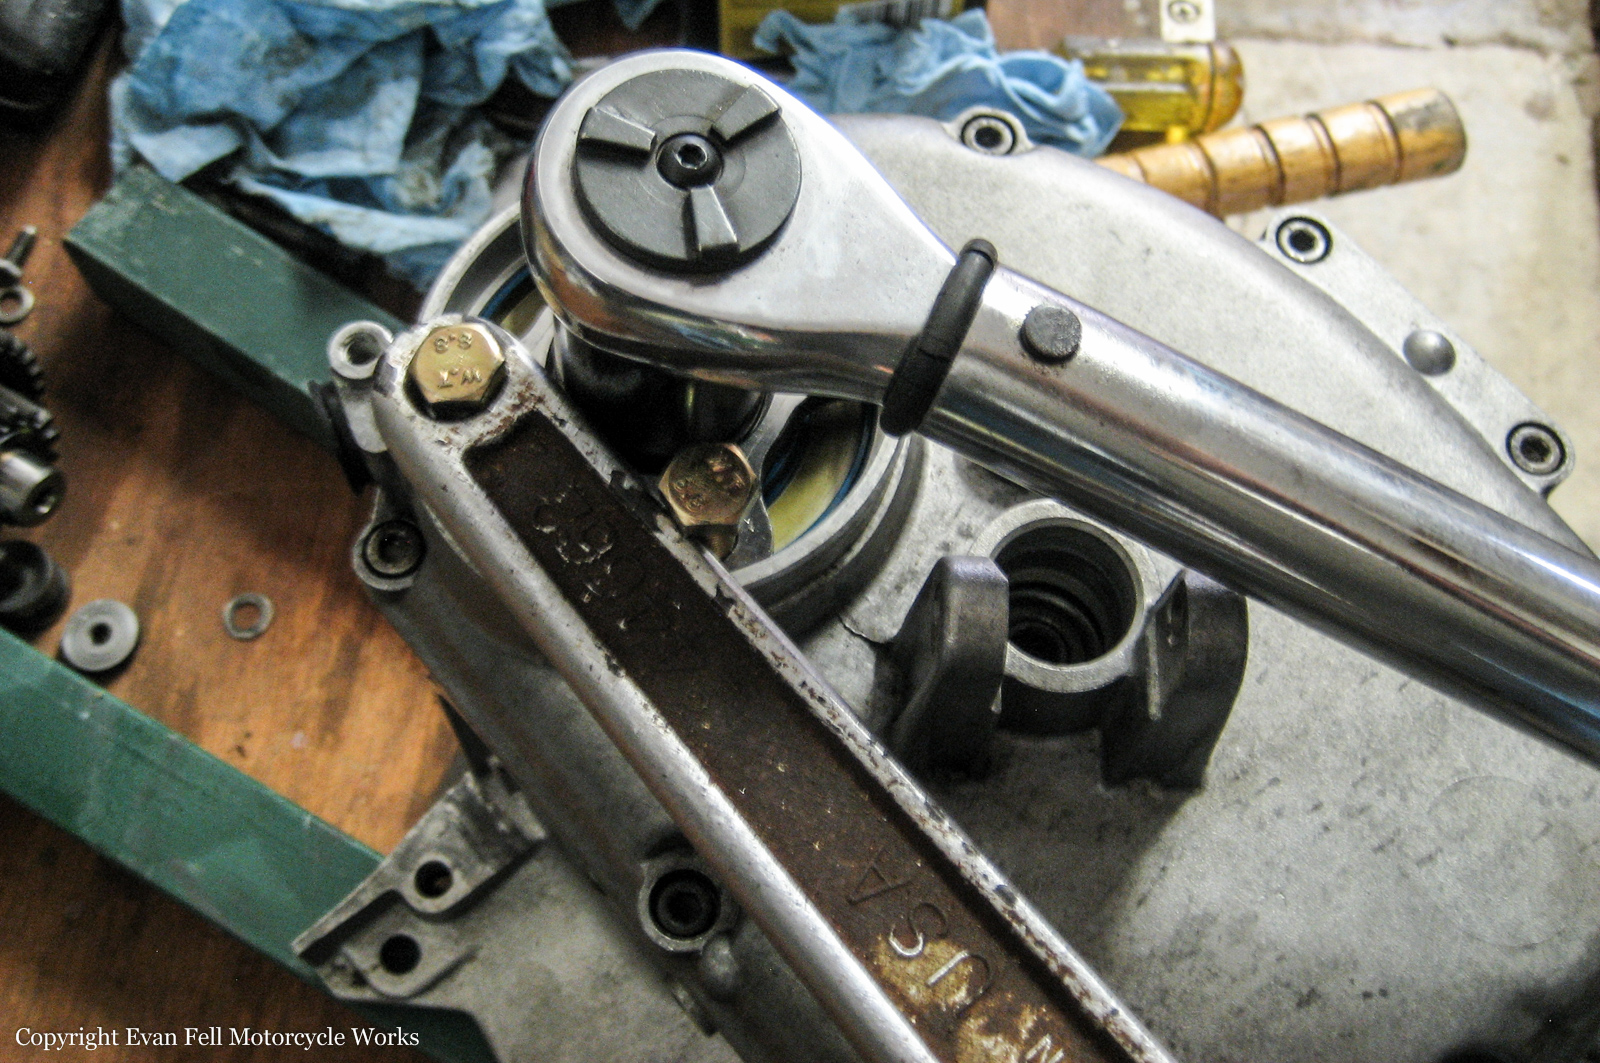
The next step is getting the output flange put onto the output shaft. In this photo it is finger tight:

There’s no key or groves to keep the flange from spinning on the shaft, it’s strictly a pressure fit. The flange nut calls for 150 pounds of pressure, which is a lot.
With a couple grade 8 bolts threaded down into the flange I was able to setup a brace to help me torque down the nut.
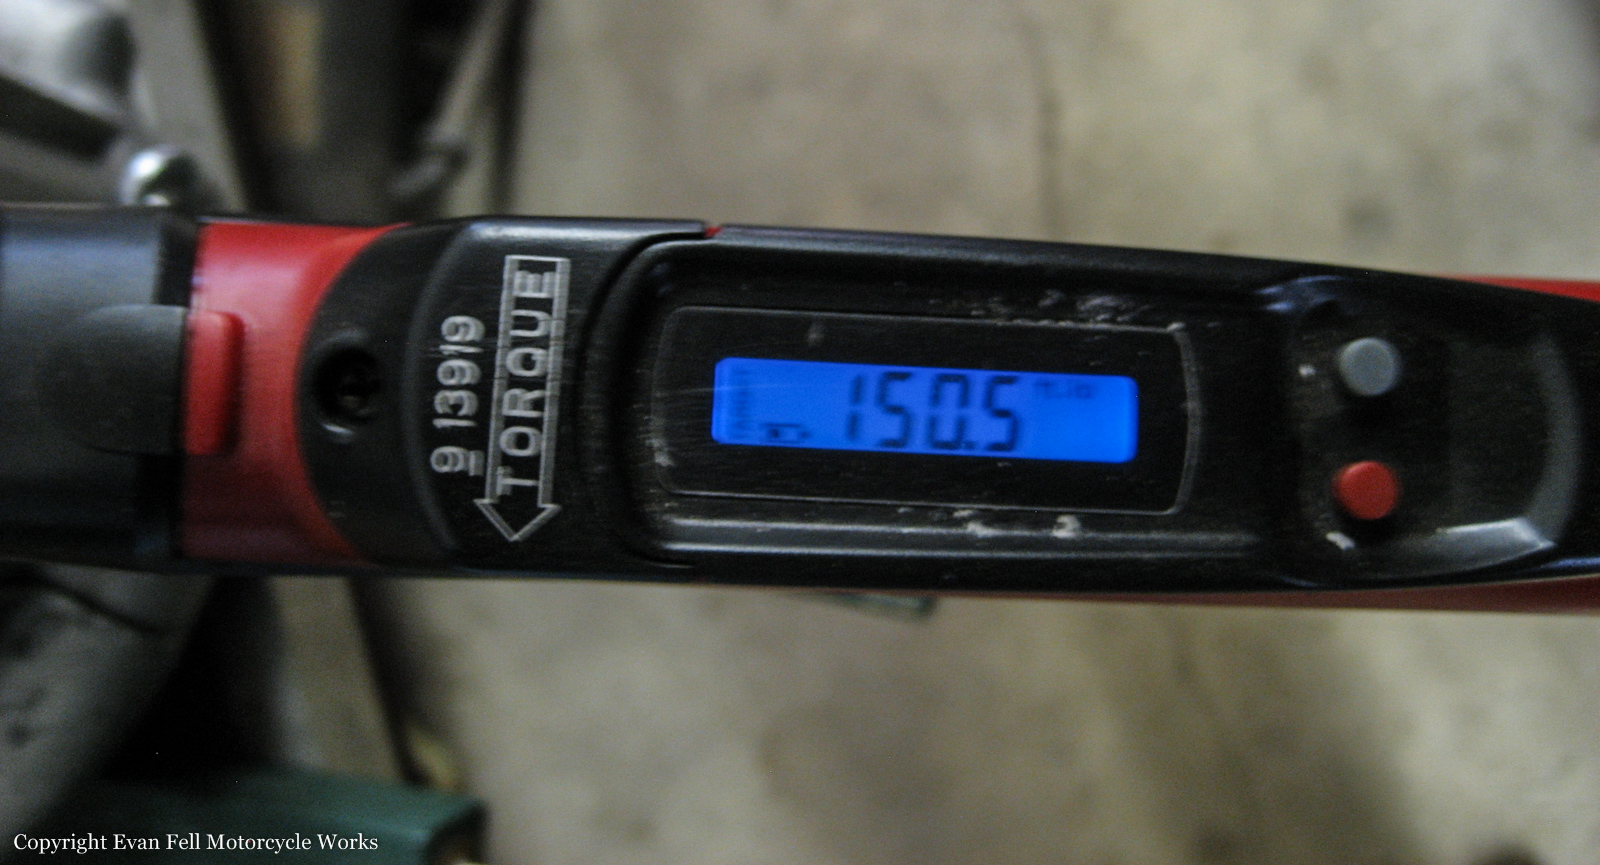
I used a large crescent wrench with a paper towel roll pressed against my stomach, and pulled the torque wrench towards me. I did it slowly, starting at 80 pounds, and slowly working my way up to 150.
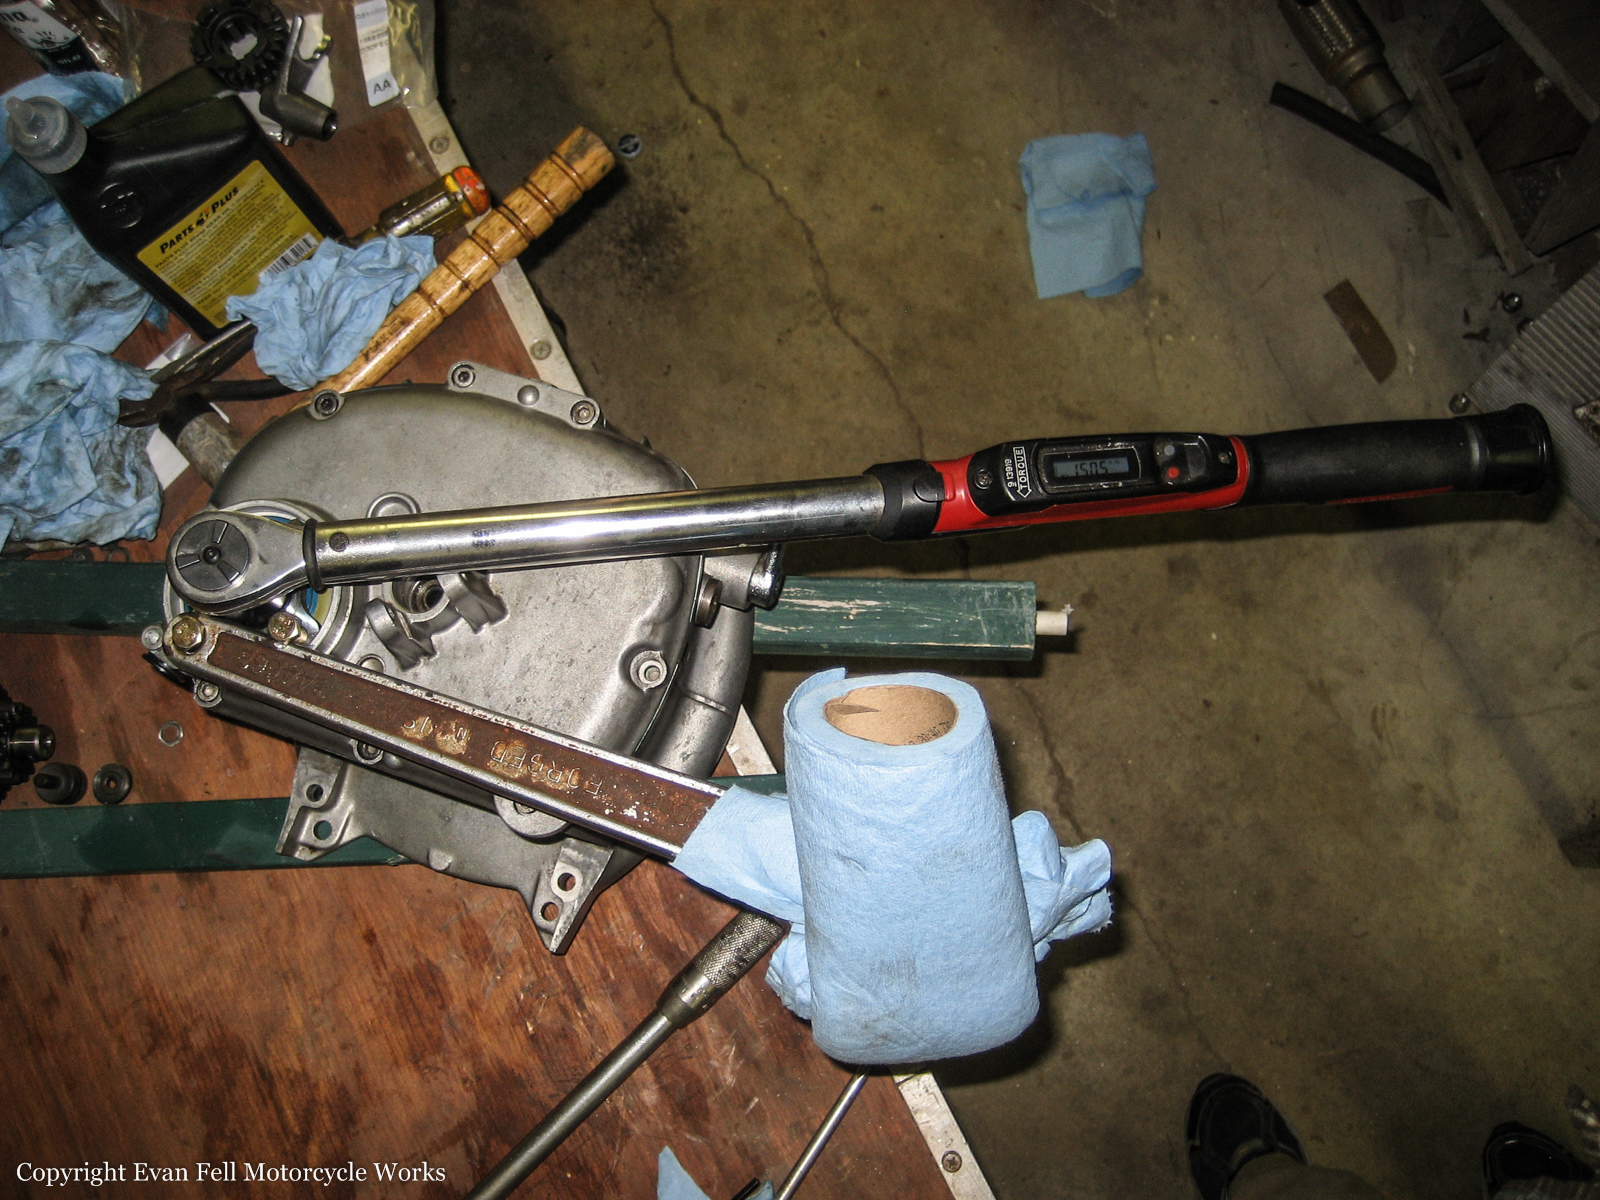
I was straining as hard as I could to reach 150. It felt like my eyes were going to pop out of my head – but I did it:
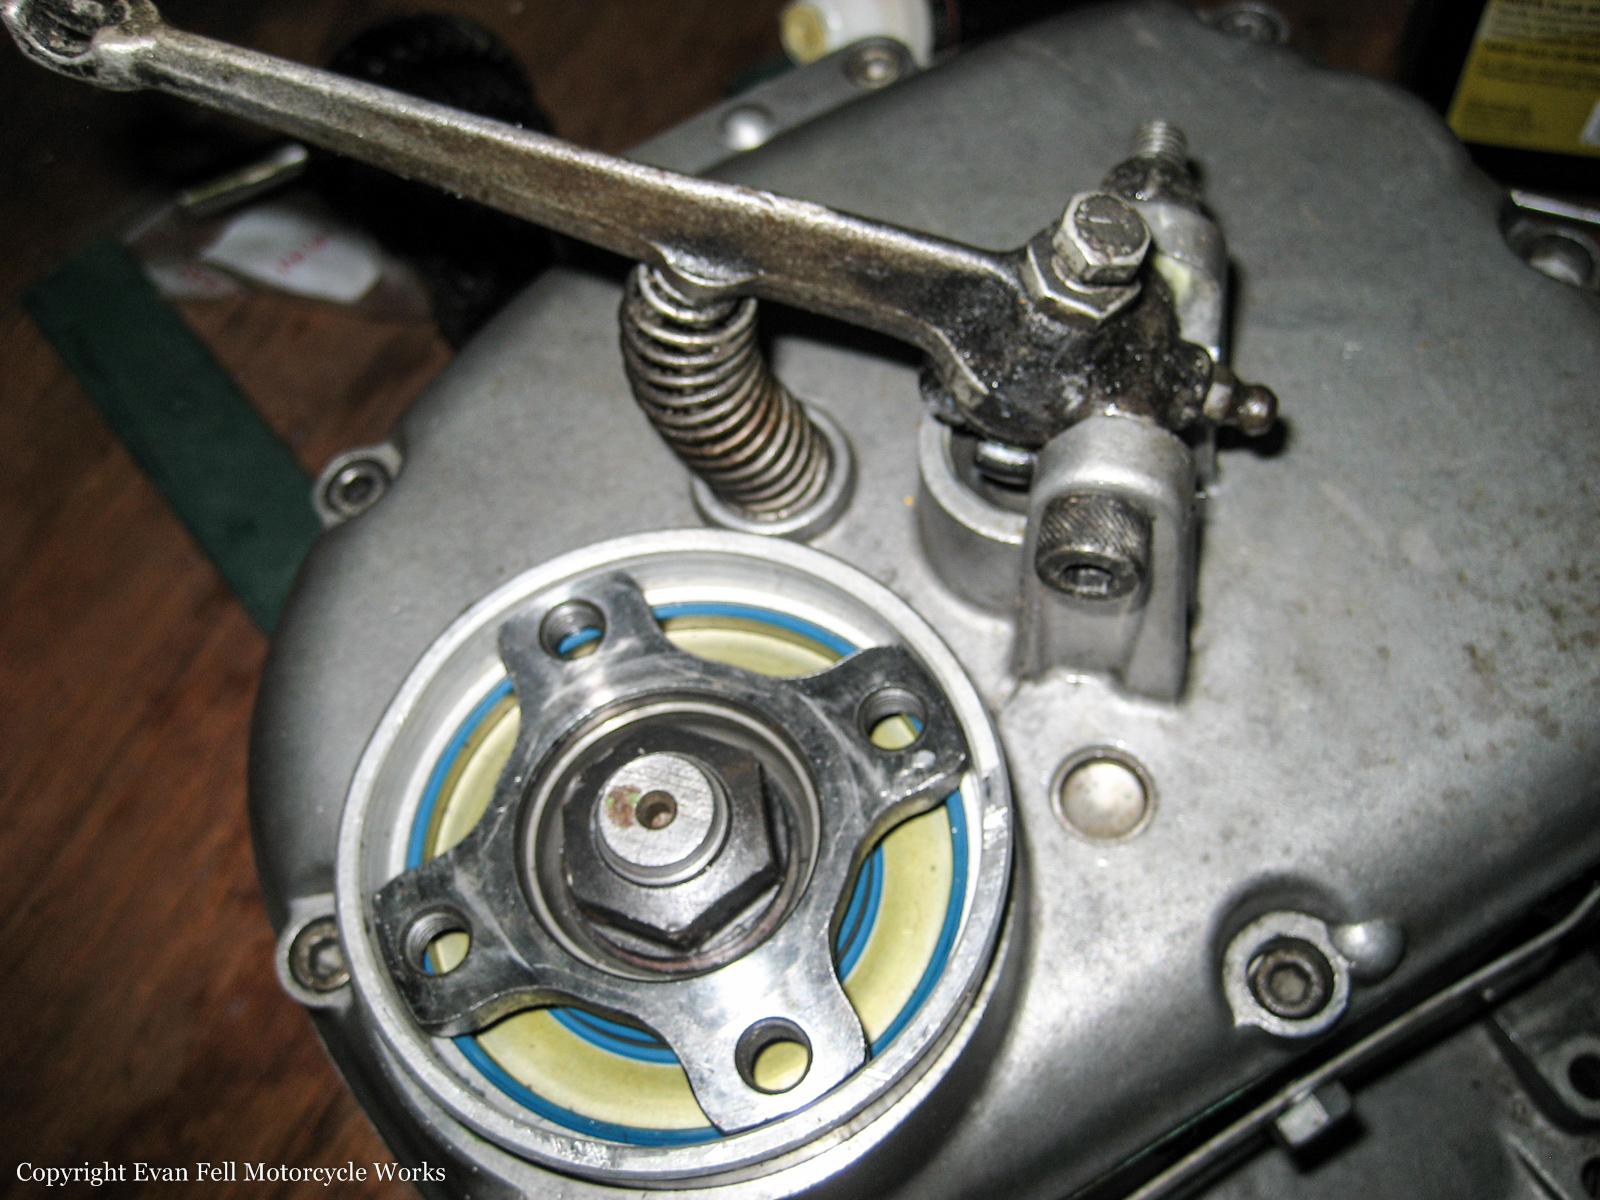
The transmission was assembled!!!
The last step was putting on the clutch actuator arm. (Actually, I don’t recommend doing this on the bench. I ended up having to remove it to get the transmission into the bike, then re-install it again).
It took about an hour for me to get the transmission in place and tightened down. I had to take out the swing arm bolt so I could pivot it back a little bit. This of course required that I had to remove the rear wheel, which in turn required I remove the luggage racks. None of this is difficult though, just time consuming.
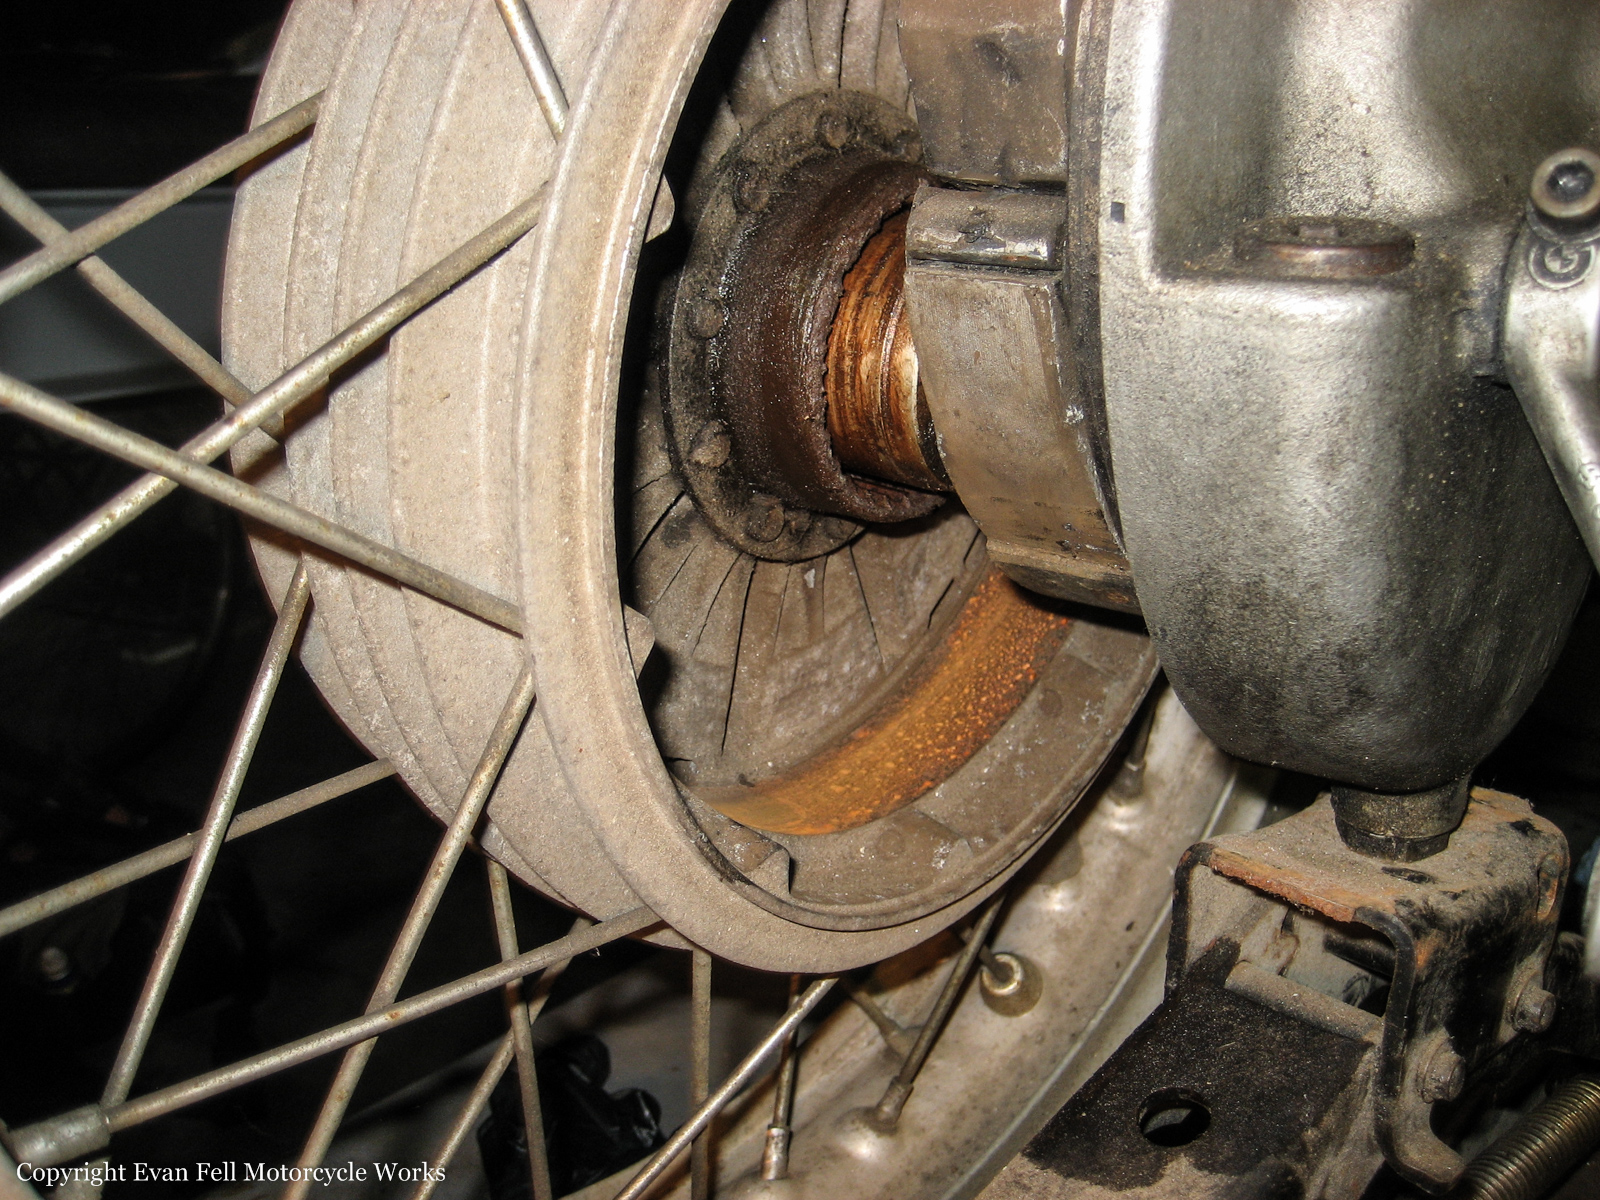
In the process I noted the nasty state of the rear wheel internals… but I’m saving that for next time:
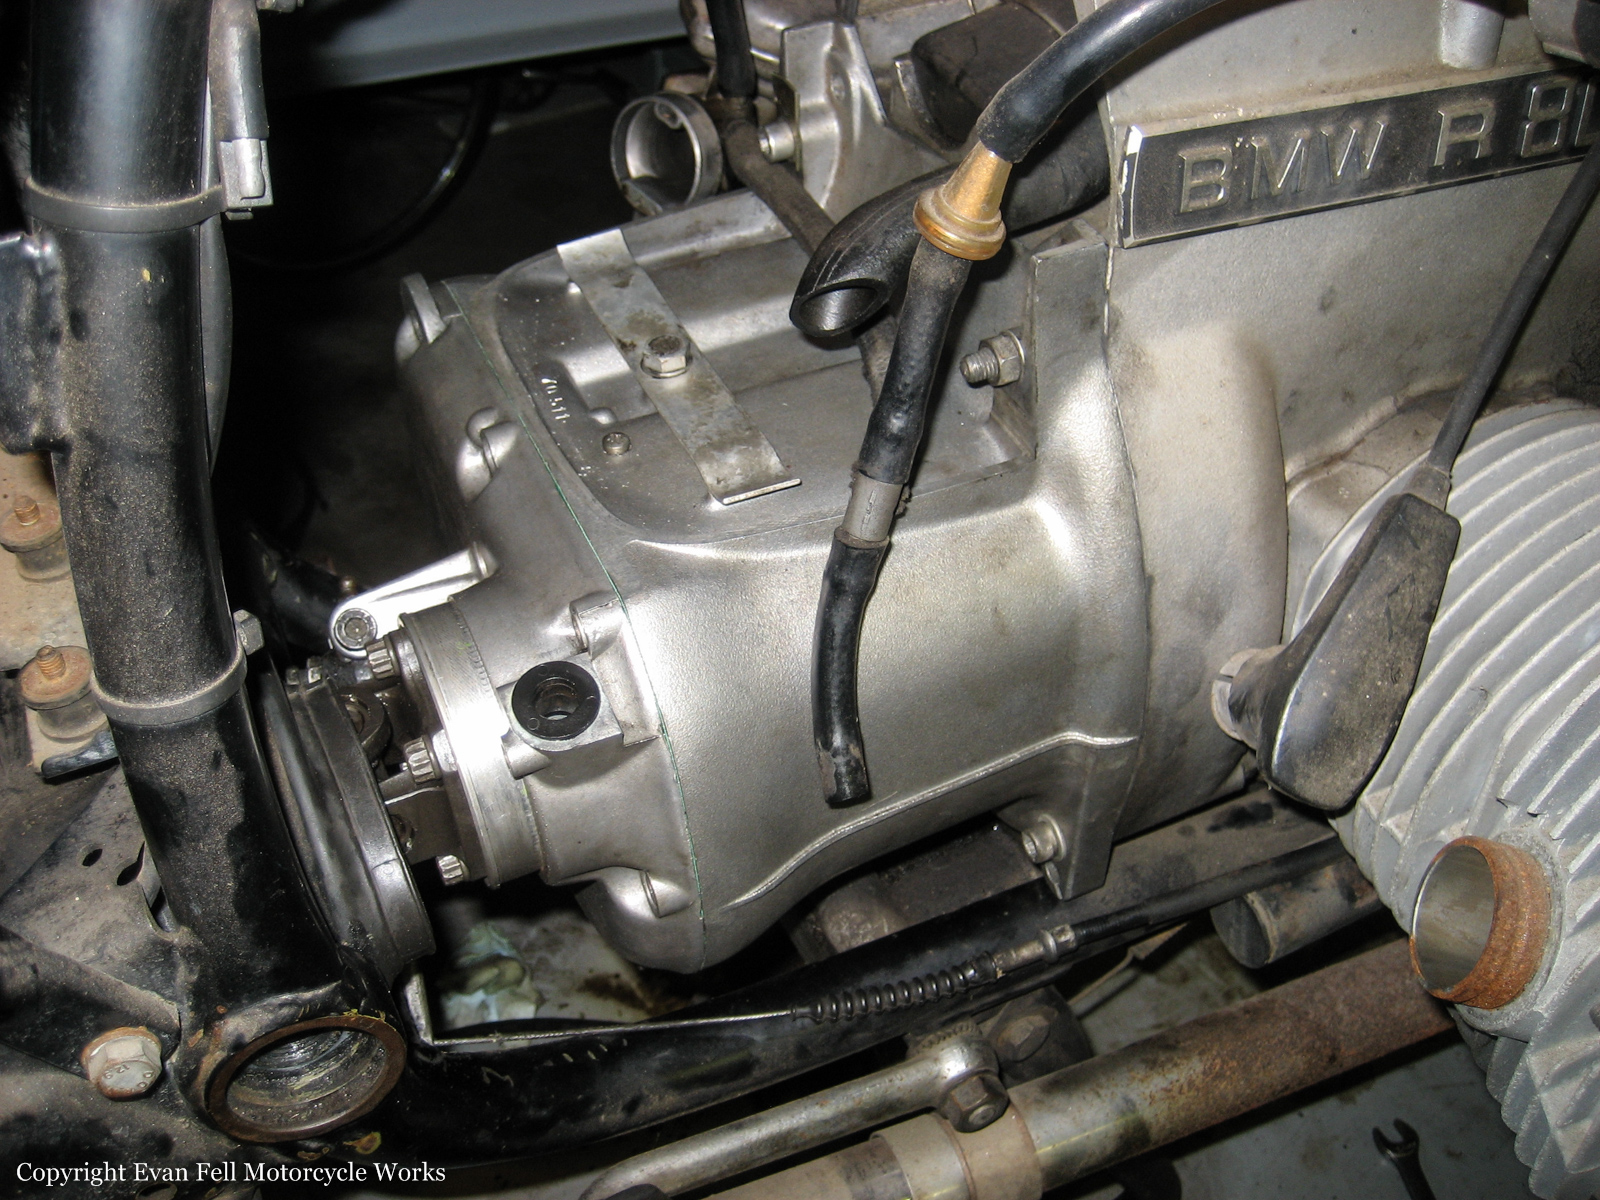
Here it is. Transmission mounted, axle bolted up, ready to go!
Actually, it was much harder to get the airbox in place than it was the transmission. It’s very fiddly to get the bolts to all line up, and the old dry intake boots were extremely difficult to get lined up and mounted to the carbs. Another Corona or two and I had it all assembled.
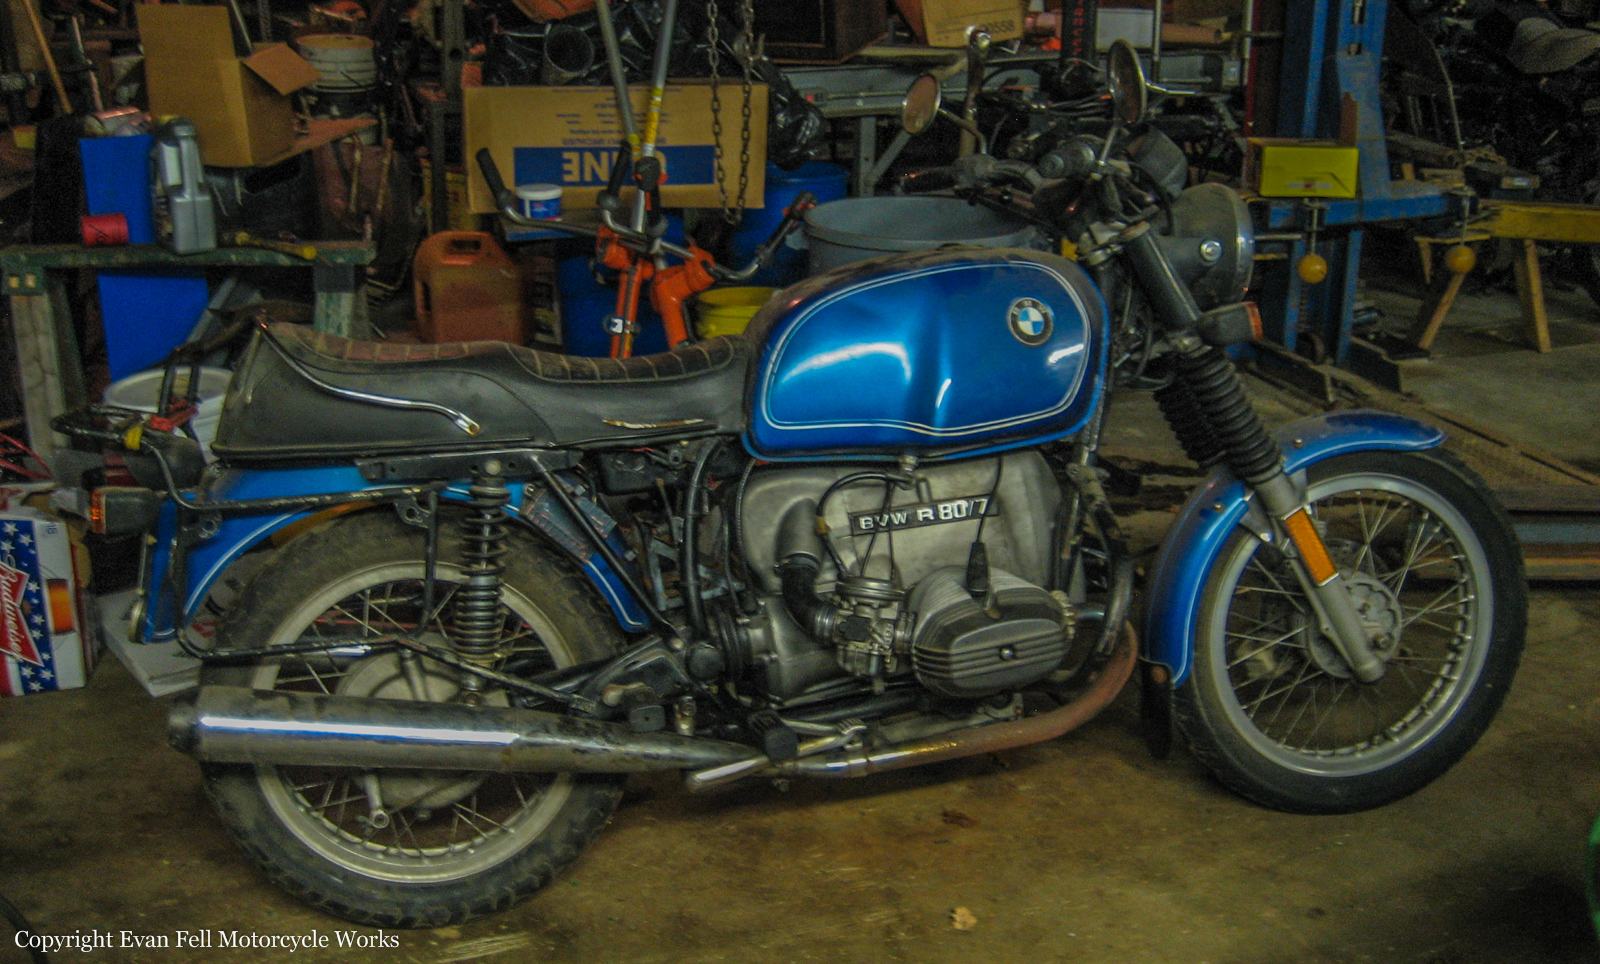
This bike had been sitting on that lift for 7 years. It’s now back on the ground!
The bike has a new battery and fuel lines waiting to be installed. The thrilling conclusion is coming soon!!
You should check out our website for the SL-30 lift. They are made here in the U.S. and are very easy to use for motorcycles. http://www.hmcindustries.com
[Reply]
More information please check: http://www.fifa16sale.com/
Our 24/7 online live chat is obviously ready to your questions and orders. Our service will attempt their best to resolve your fifacoinsbest2
problems.So don’t hesitate,there are no reason to miss us. fifa4buy.com/FIFA16-PS4/
[Reply]
Thanks for the share, love reading your blog!
[Reply]